The new email uploader solution for Office 365 equips users with the ability to upload multiple emails from their Office 365 email account to Leads, Brokers, Units, Entities, Multi-Unit, Regional, and Customer records directly from within the FranConnect application without needing to download any plugin or software.
1. Navigate to Options > Integrator > Email Integrations.
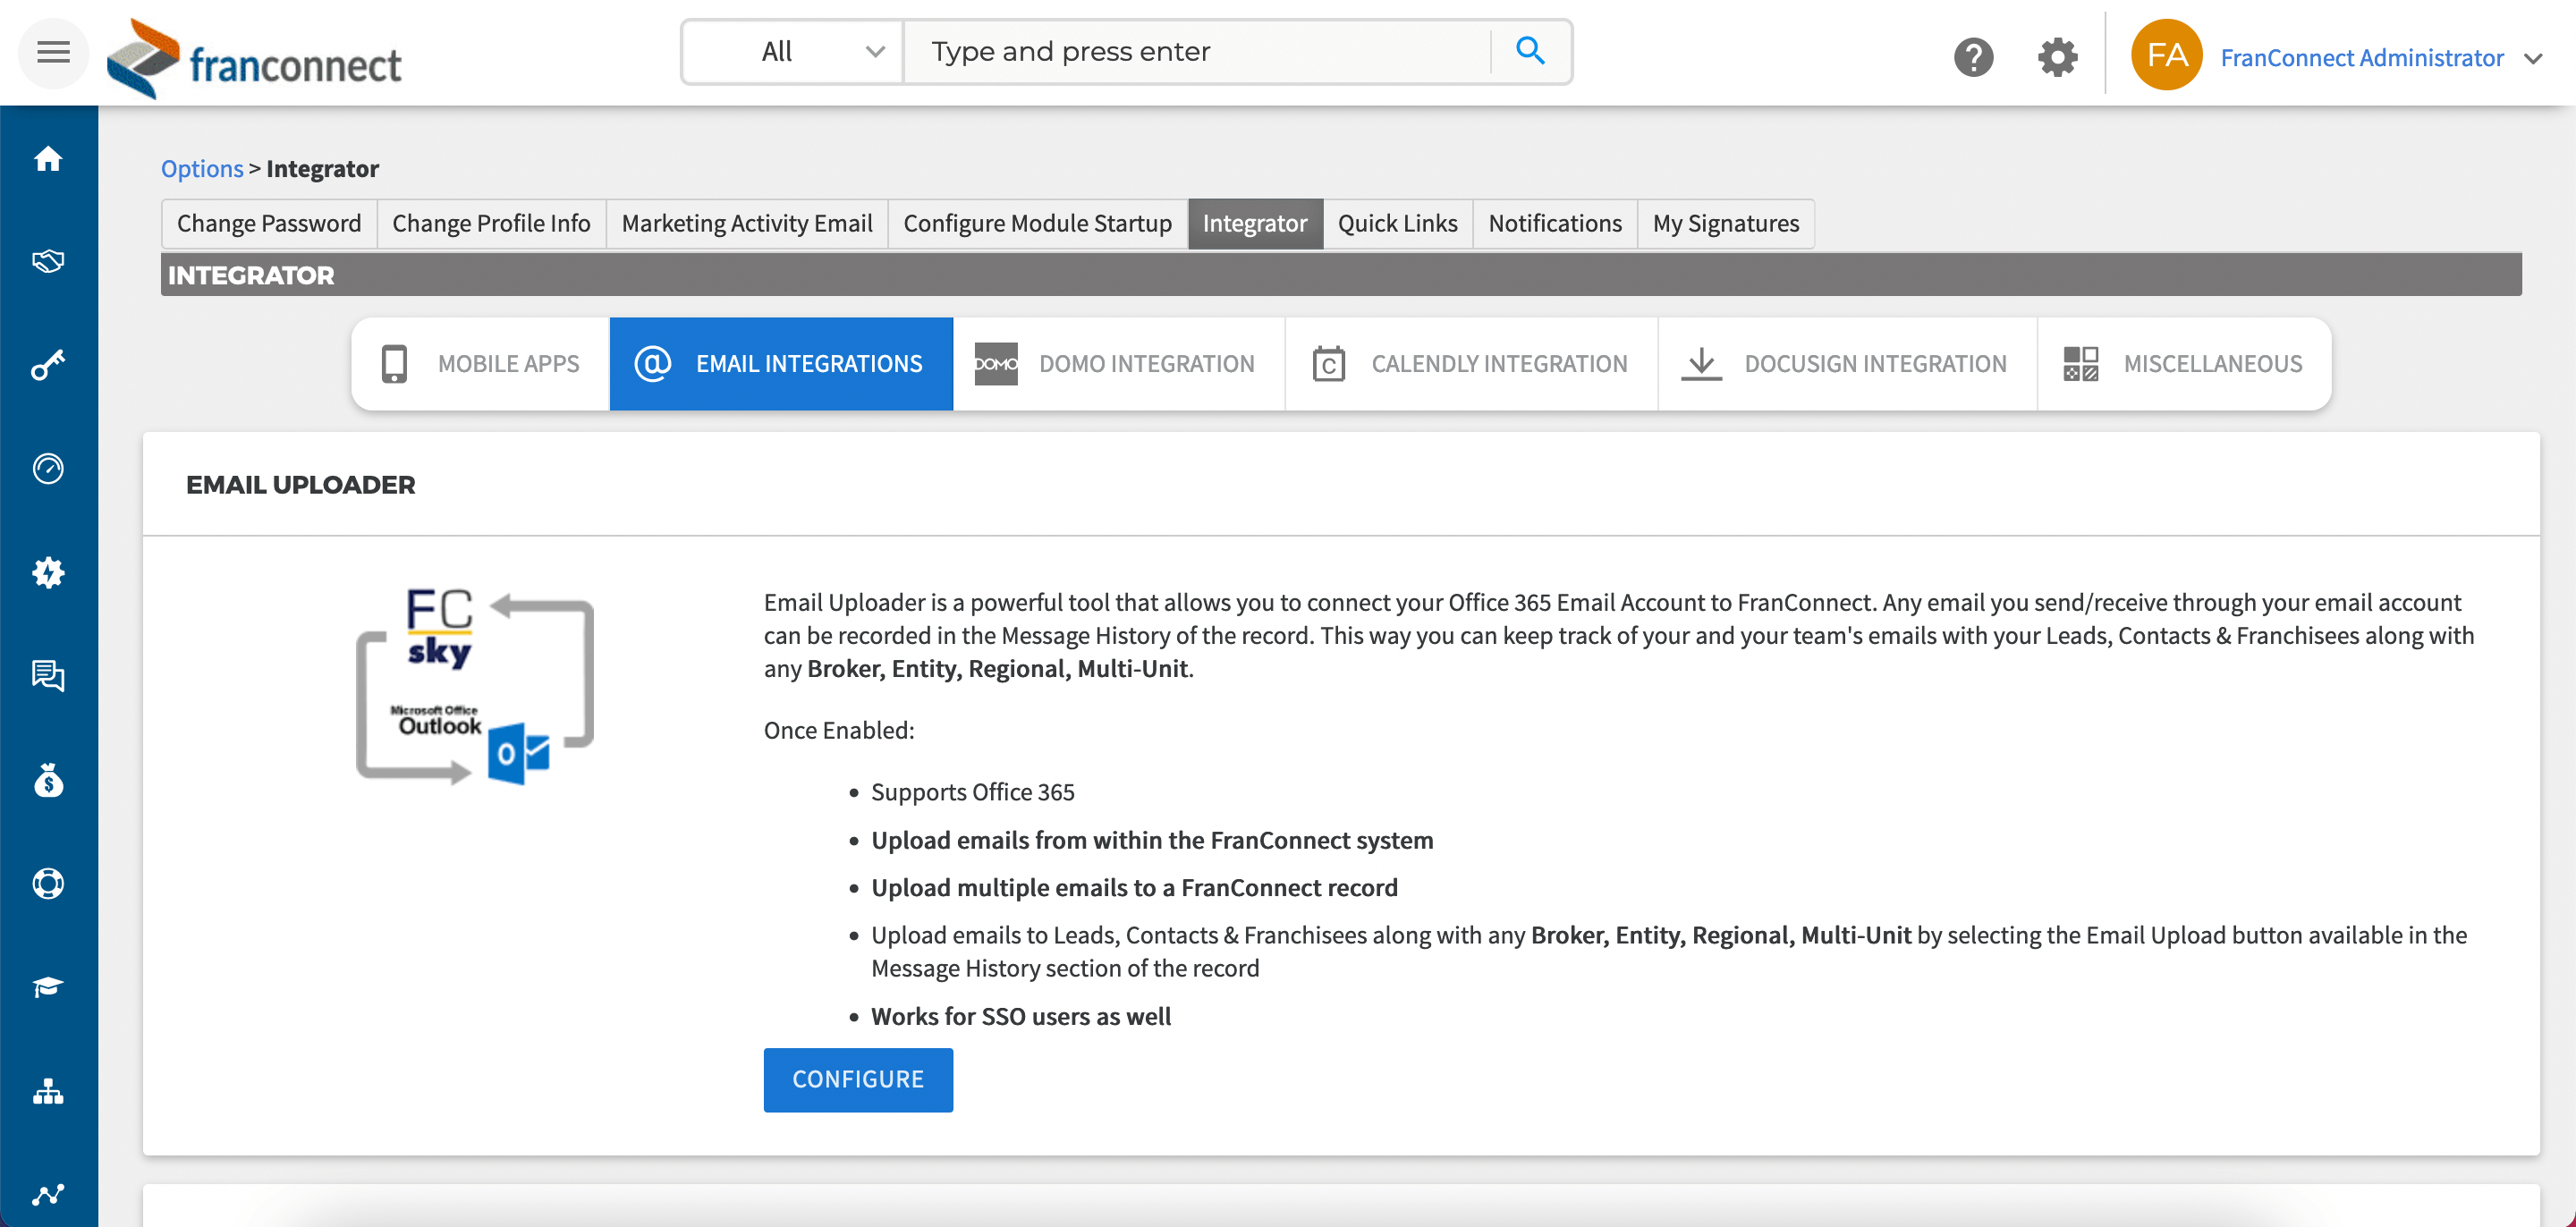
2. Under Email integrations, navigate to the section that says “Email Uploader”.
3. Selecting configure will redirect you to the page as shown in the image below:-
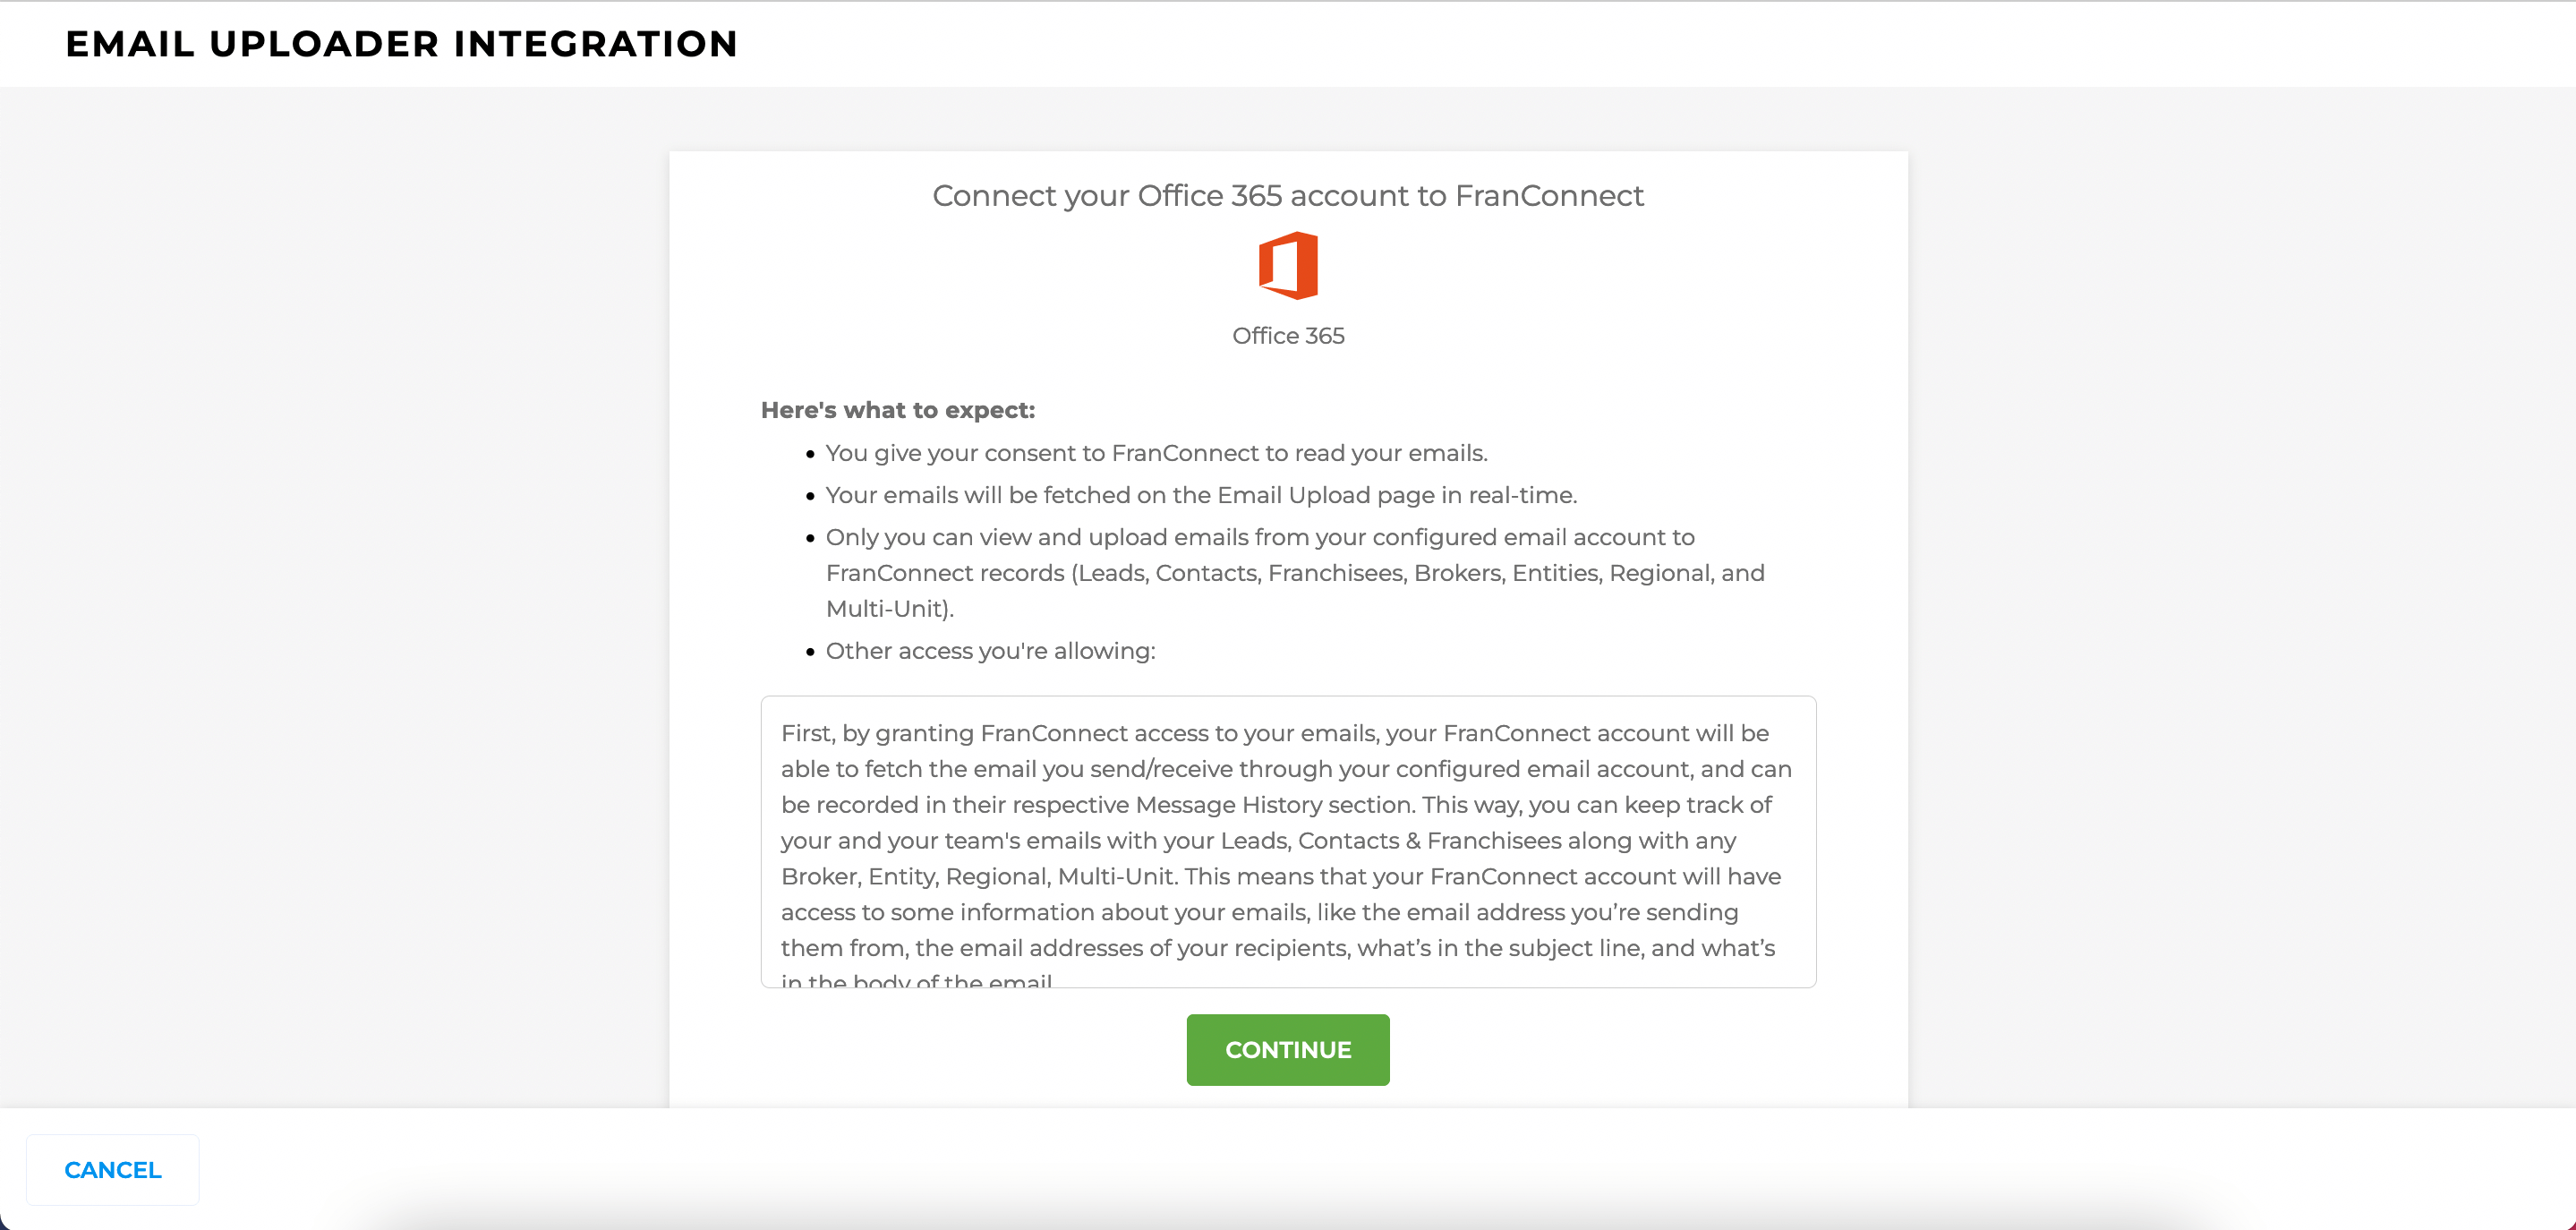
4. Selecting Continue will redirect you to the Office 365 login page. Here you will have to provide the credentials of the account from which you want to upload email(s).
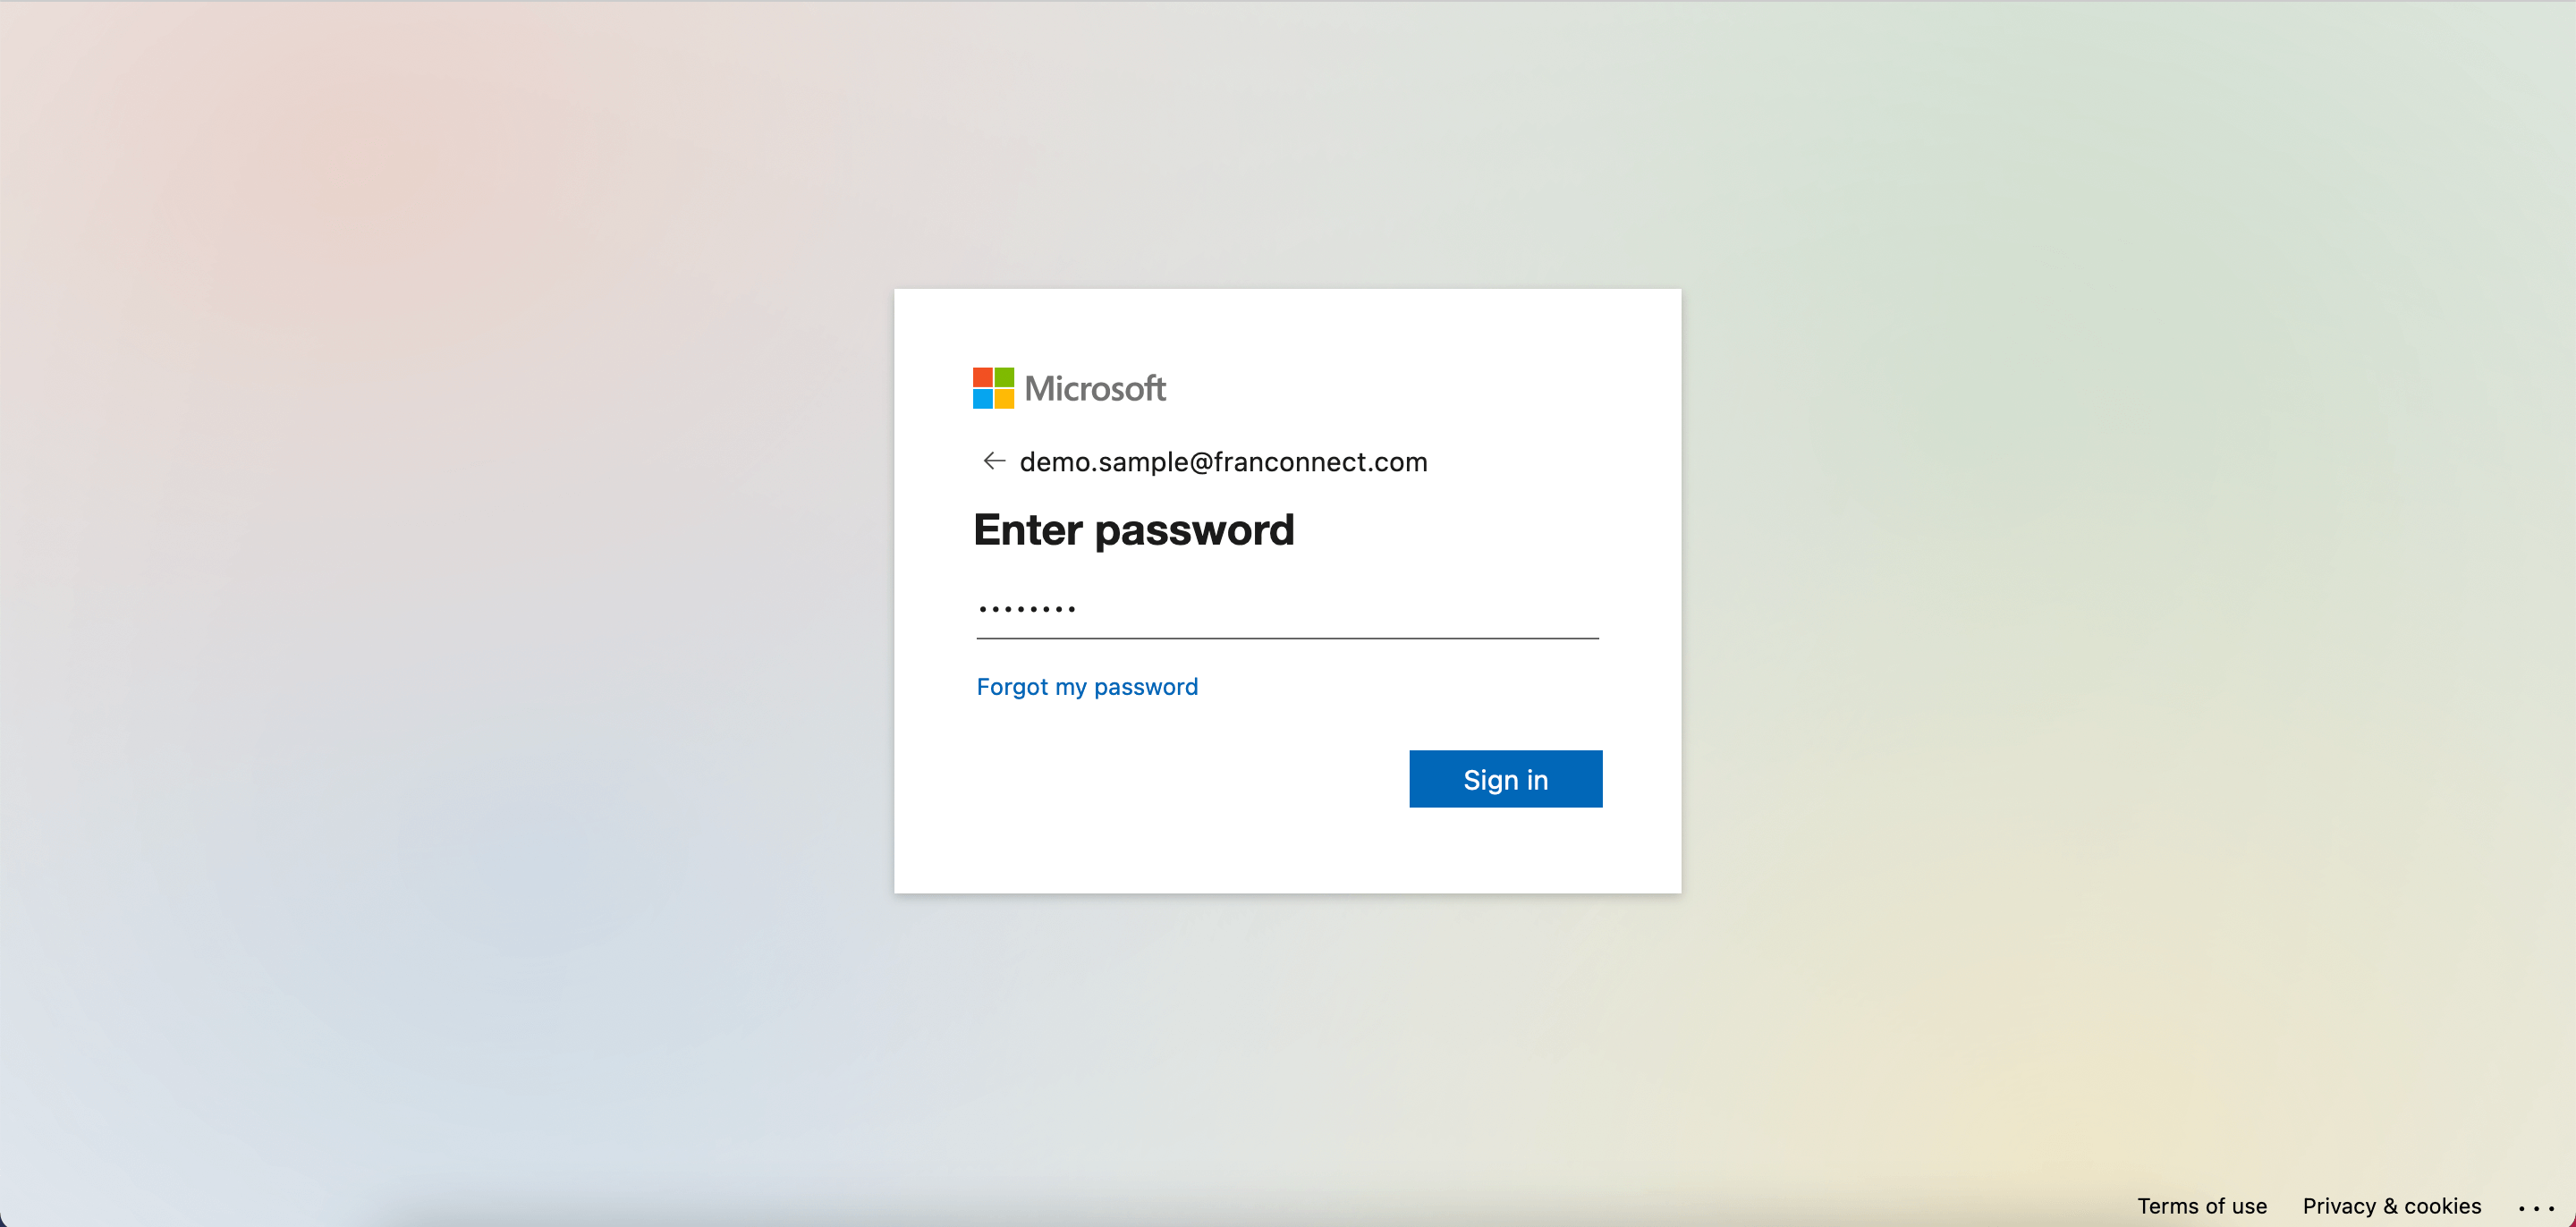
5. Selecting Sign In will initiate the authentication process. On successful authentication, it will redirect you to the FranConnect system where you will be greeted with an information popup that says “Your account is connected successfully”.
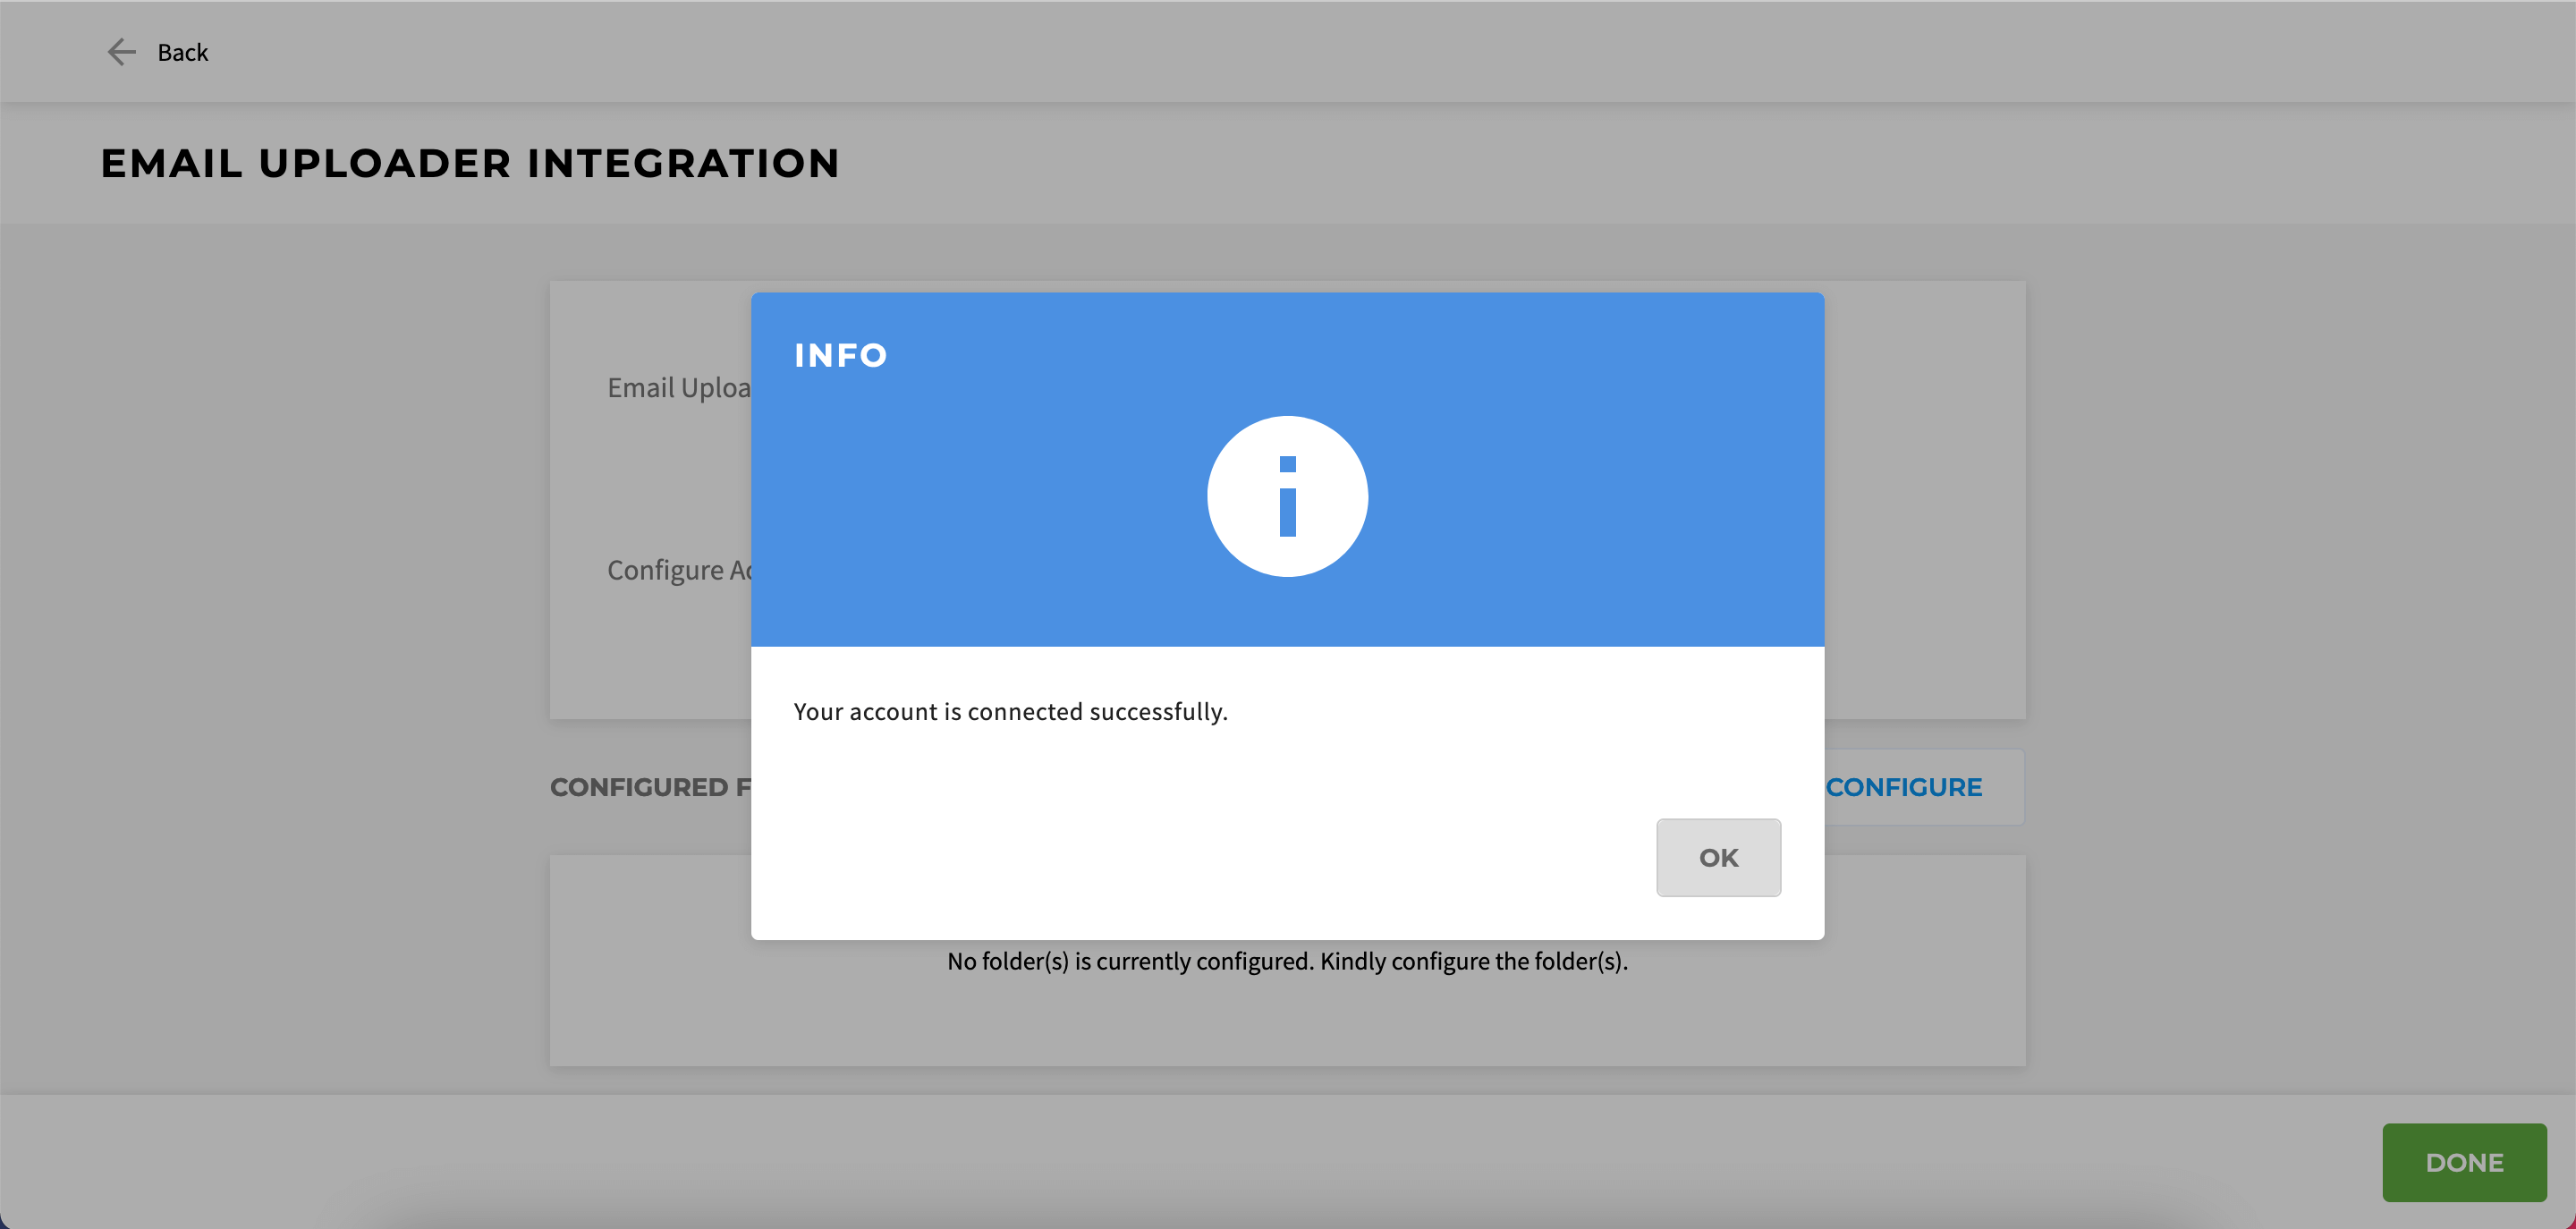
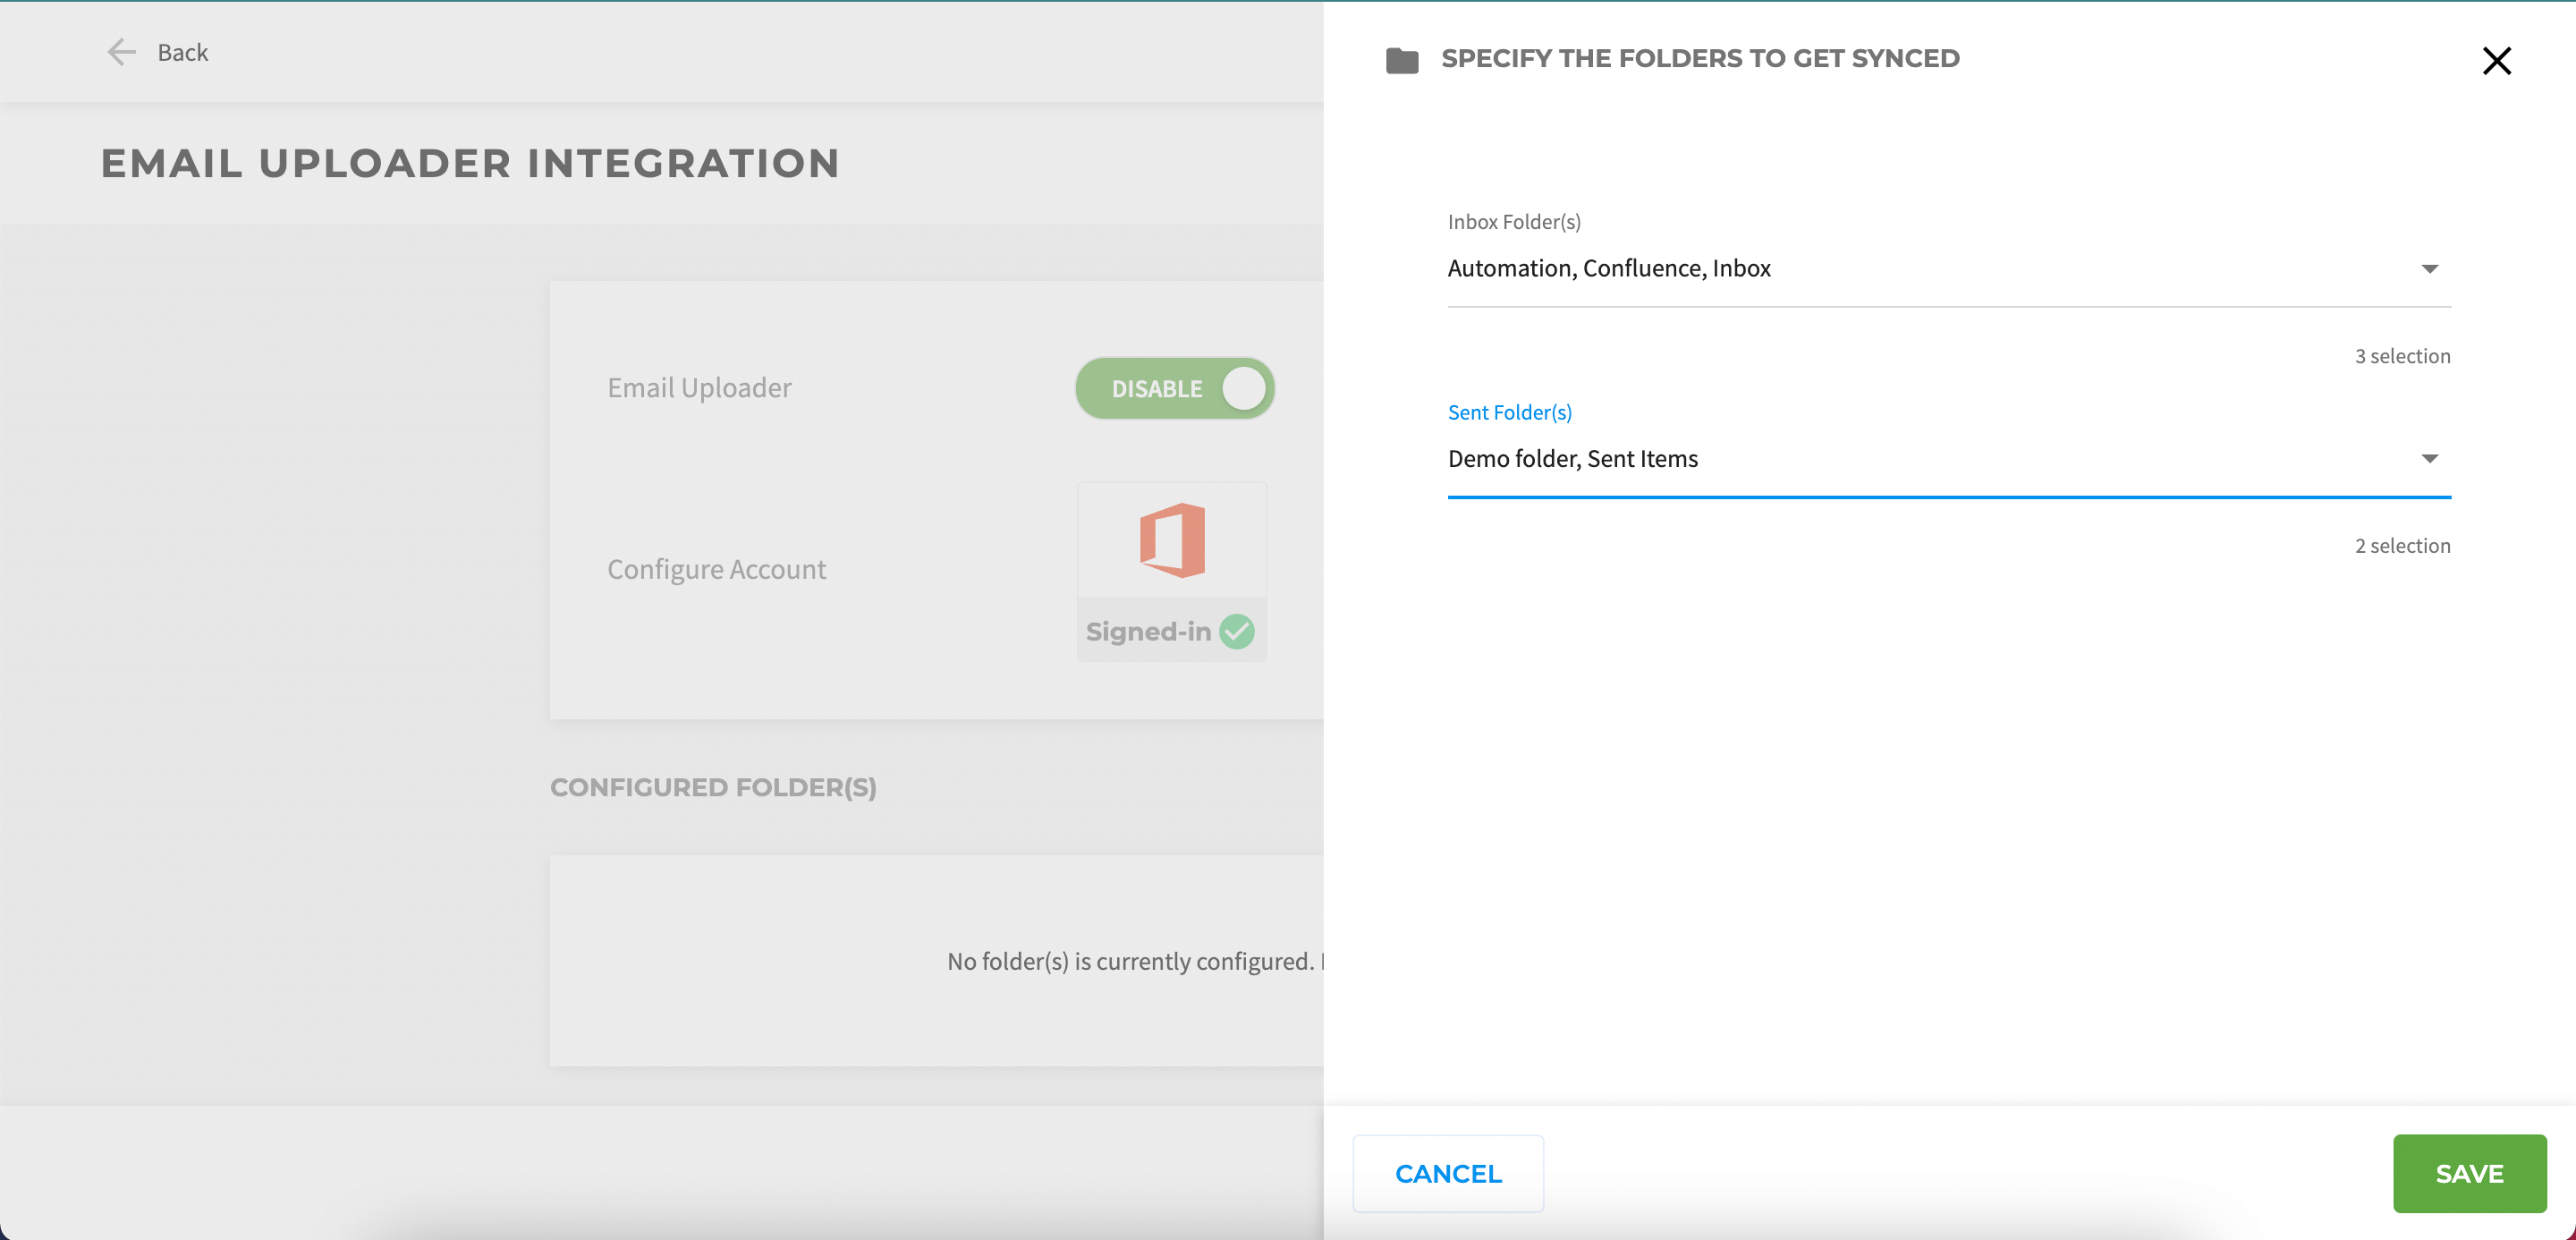
6. Upon selecting OK, it will open up a sliding drawer namely, “Specify the folders to get synced”. This is where you can specify all the folders from which you would like to upload the emails. Select Save to save your configured folders.
7. Once you have configured the folder(s), the configuration part is completed.
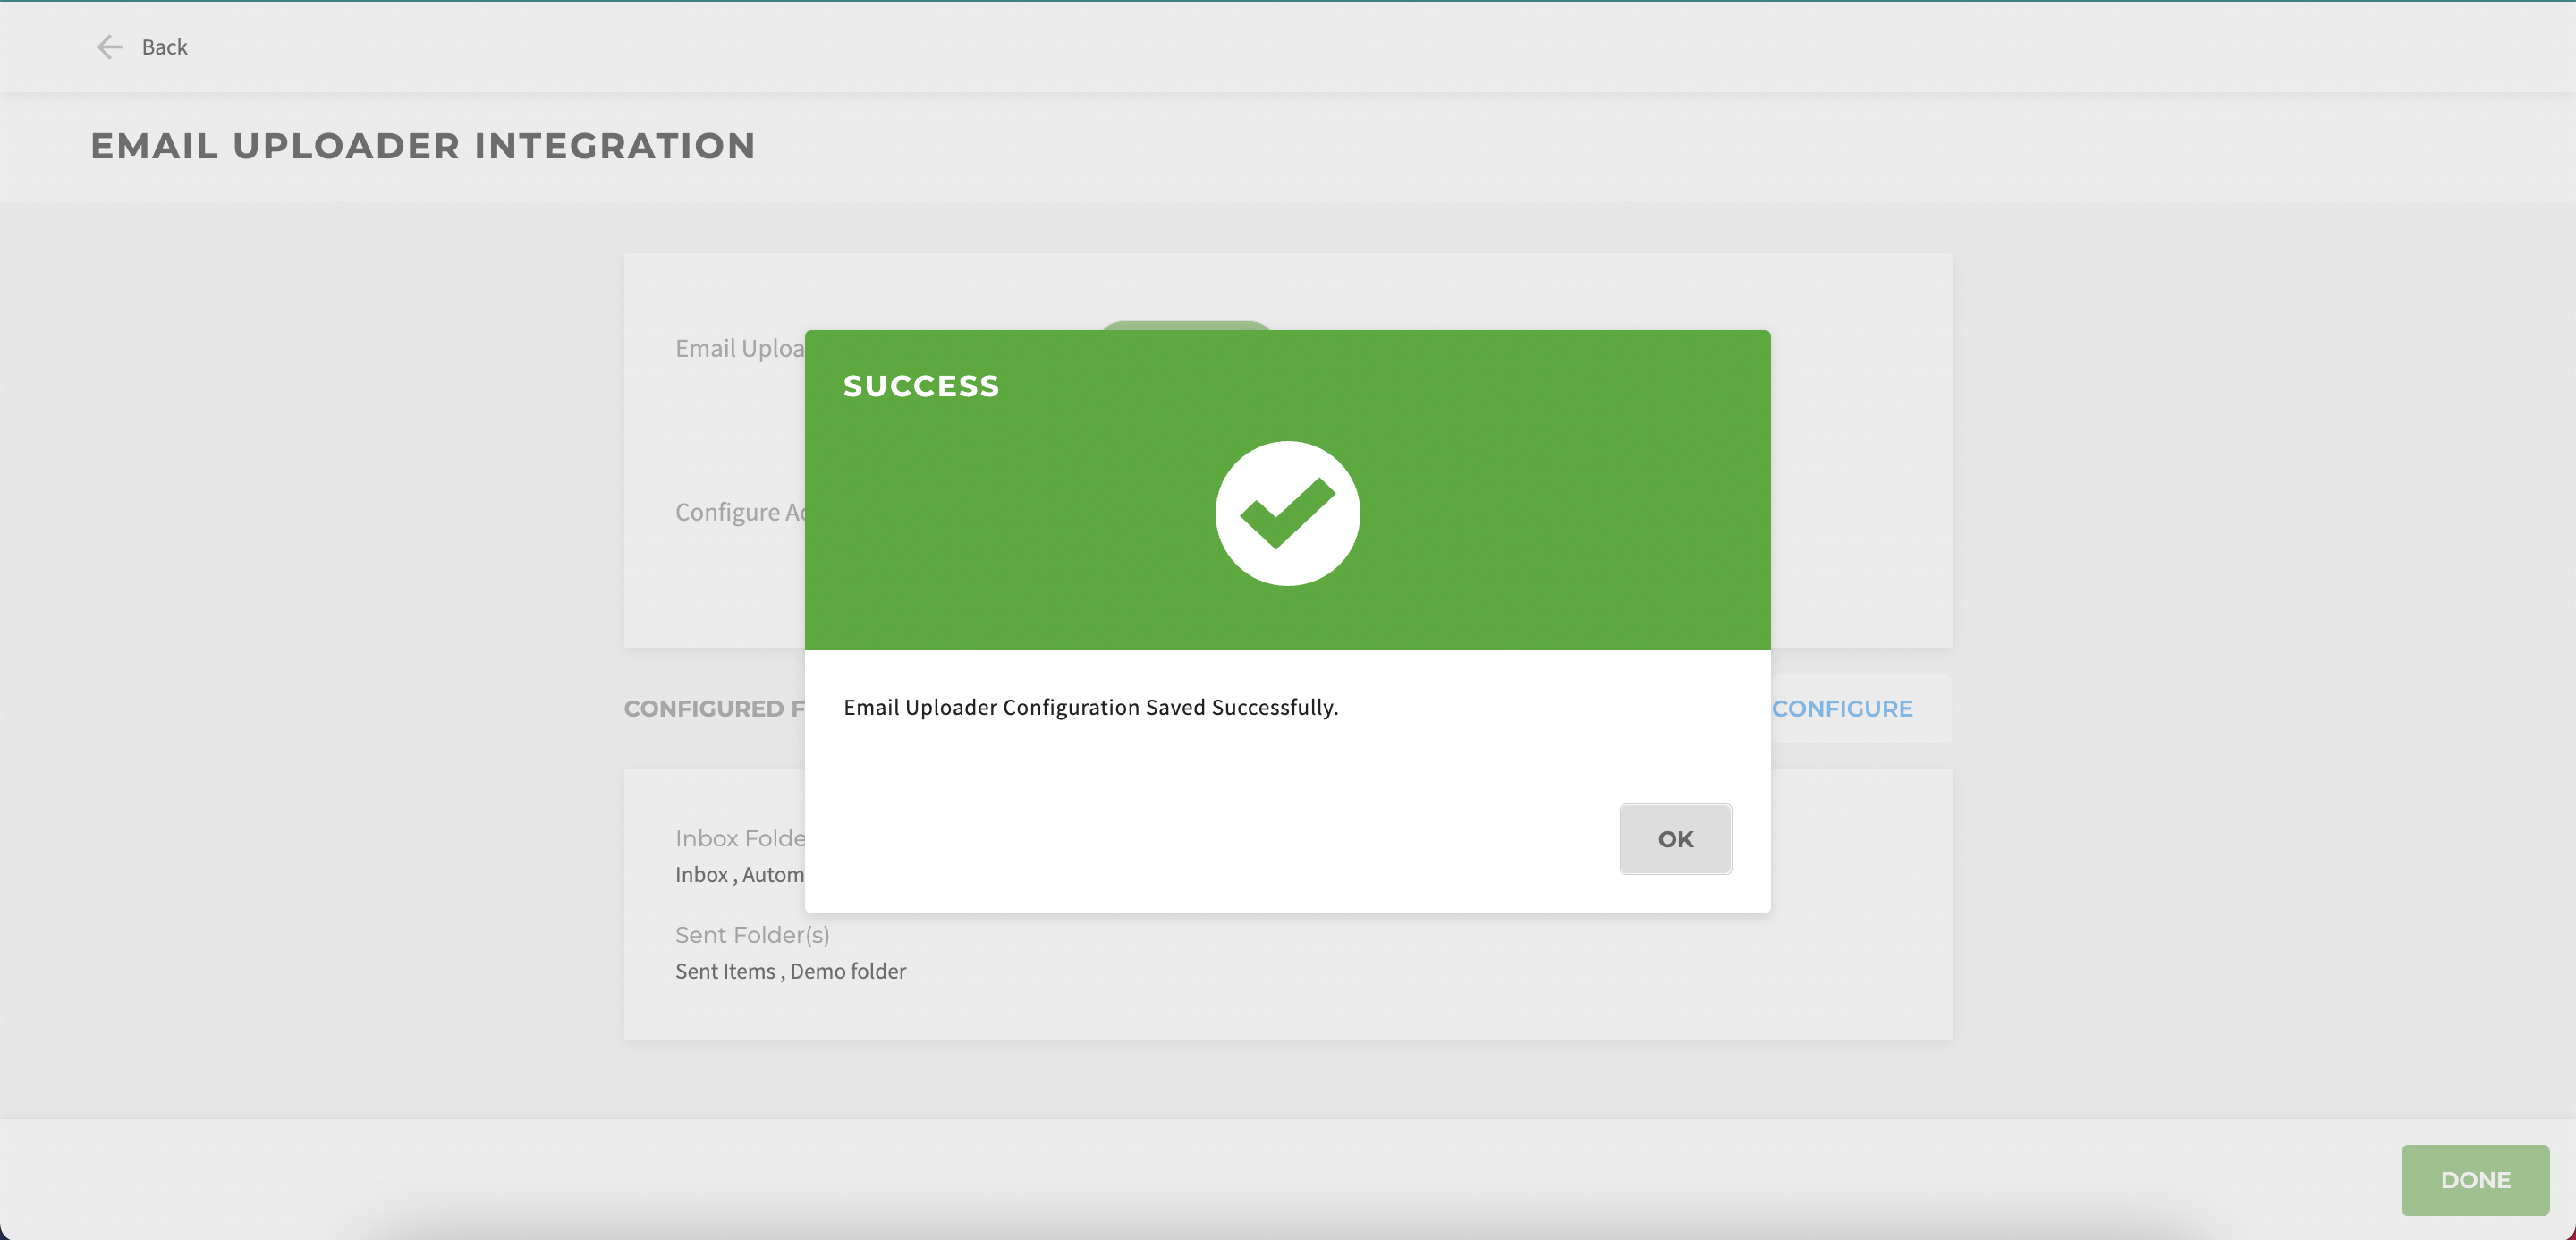
8. Select Done to successfully come out of the configuration page. Doing that will show you a success message like the image below. Then selecting OK will redirect you to the Integrator page.
9. Now, we are all set to upload emails from the configured account to leads, brokers, franchisees(units, entities, multi-unit ), regional, and contacts.
1. To upload emails, you will need to navigate to a particular record like Lead. The supported records are:
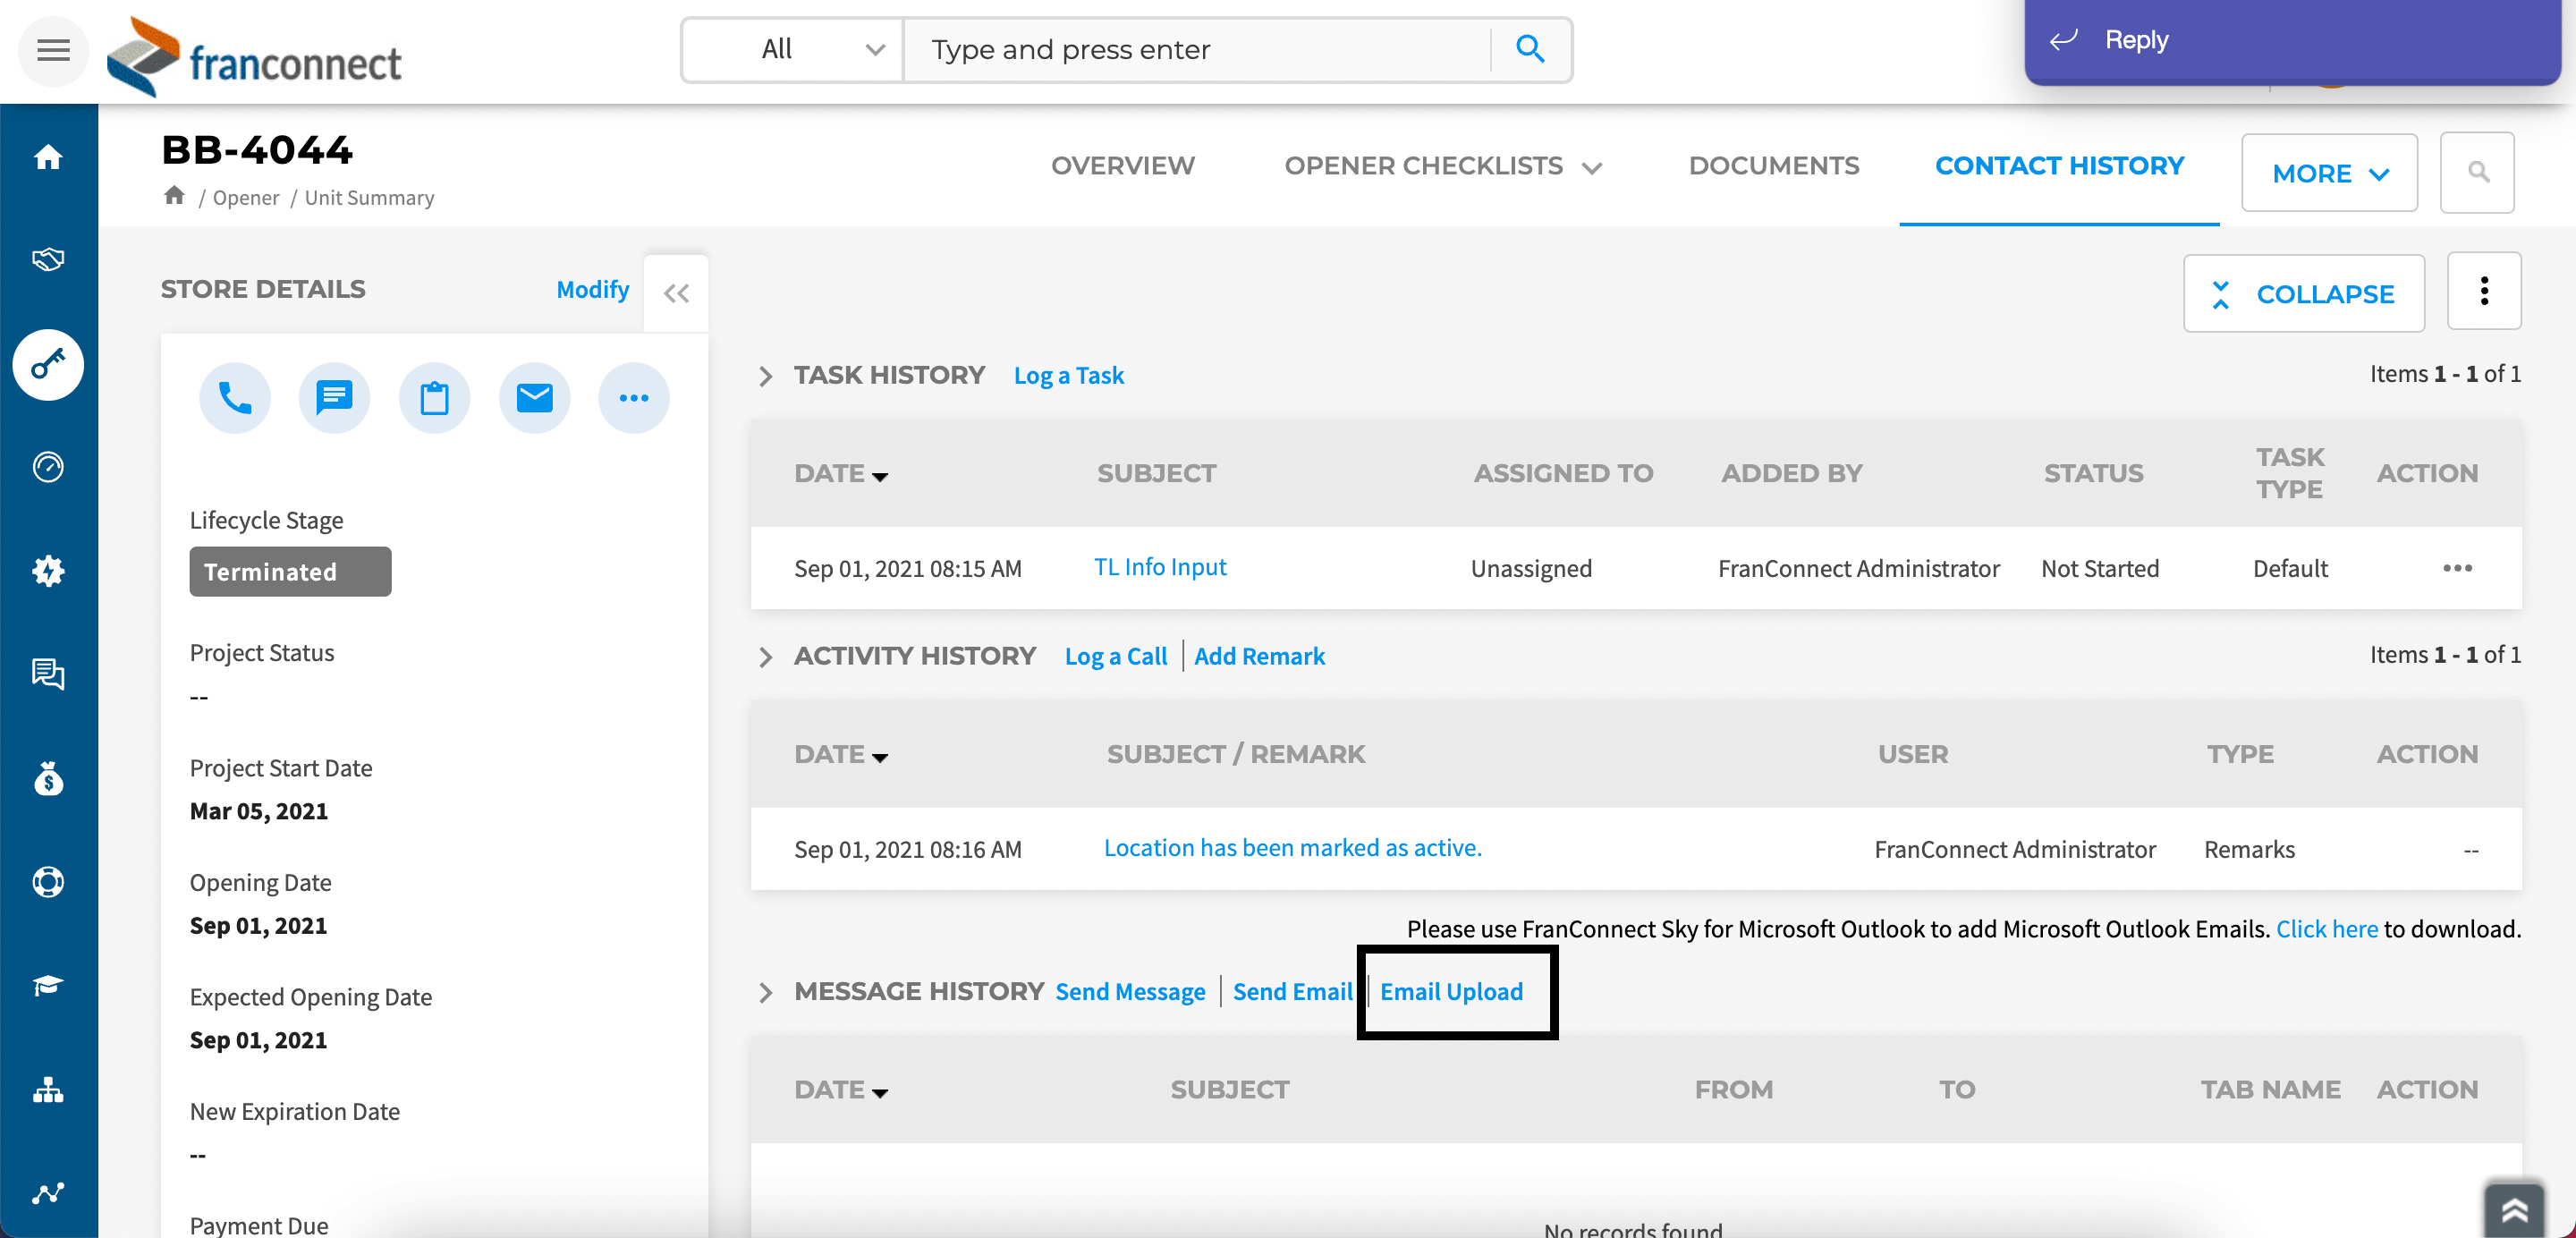
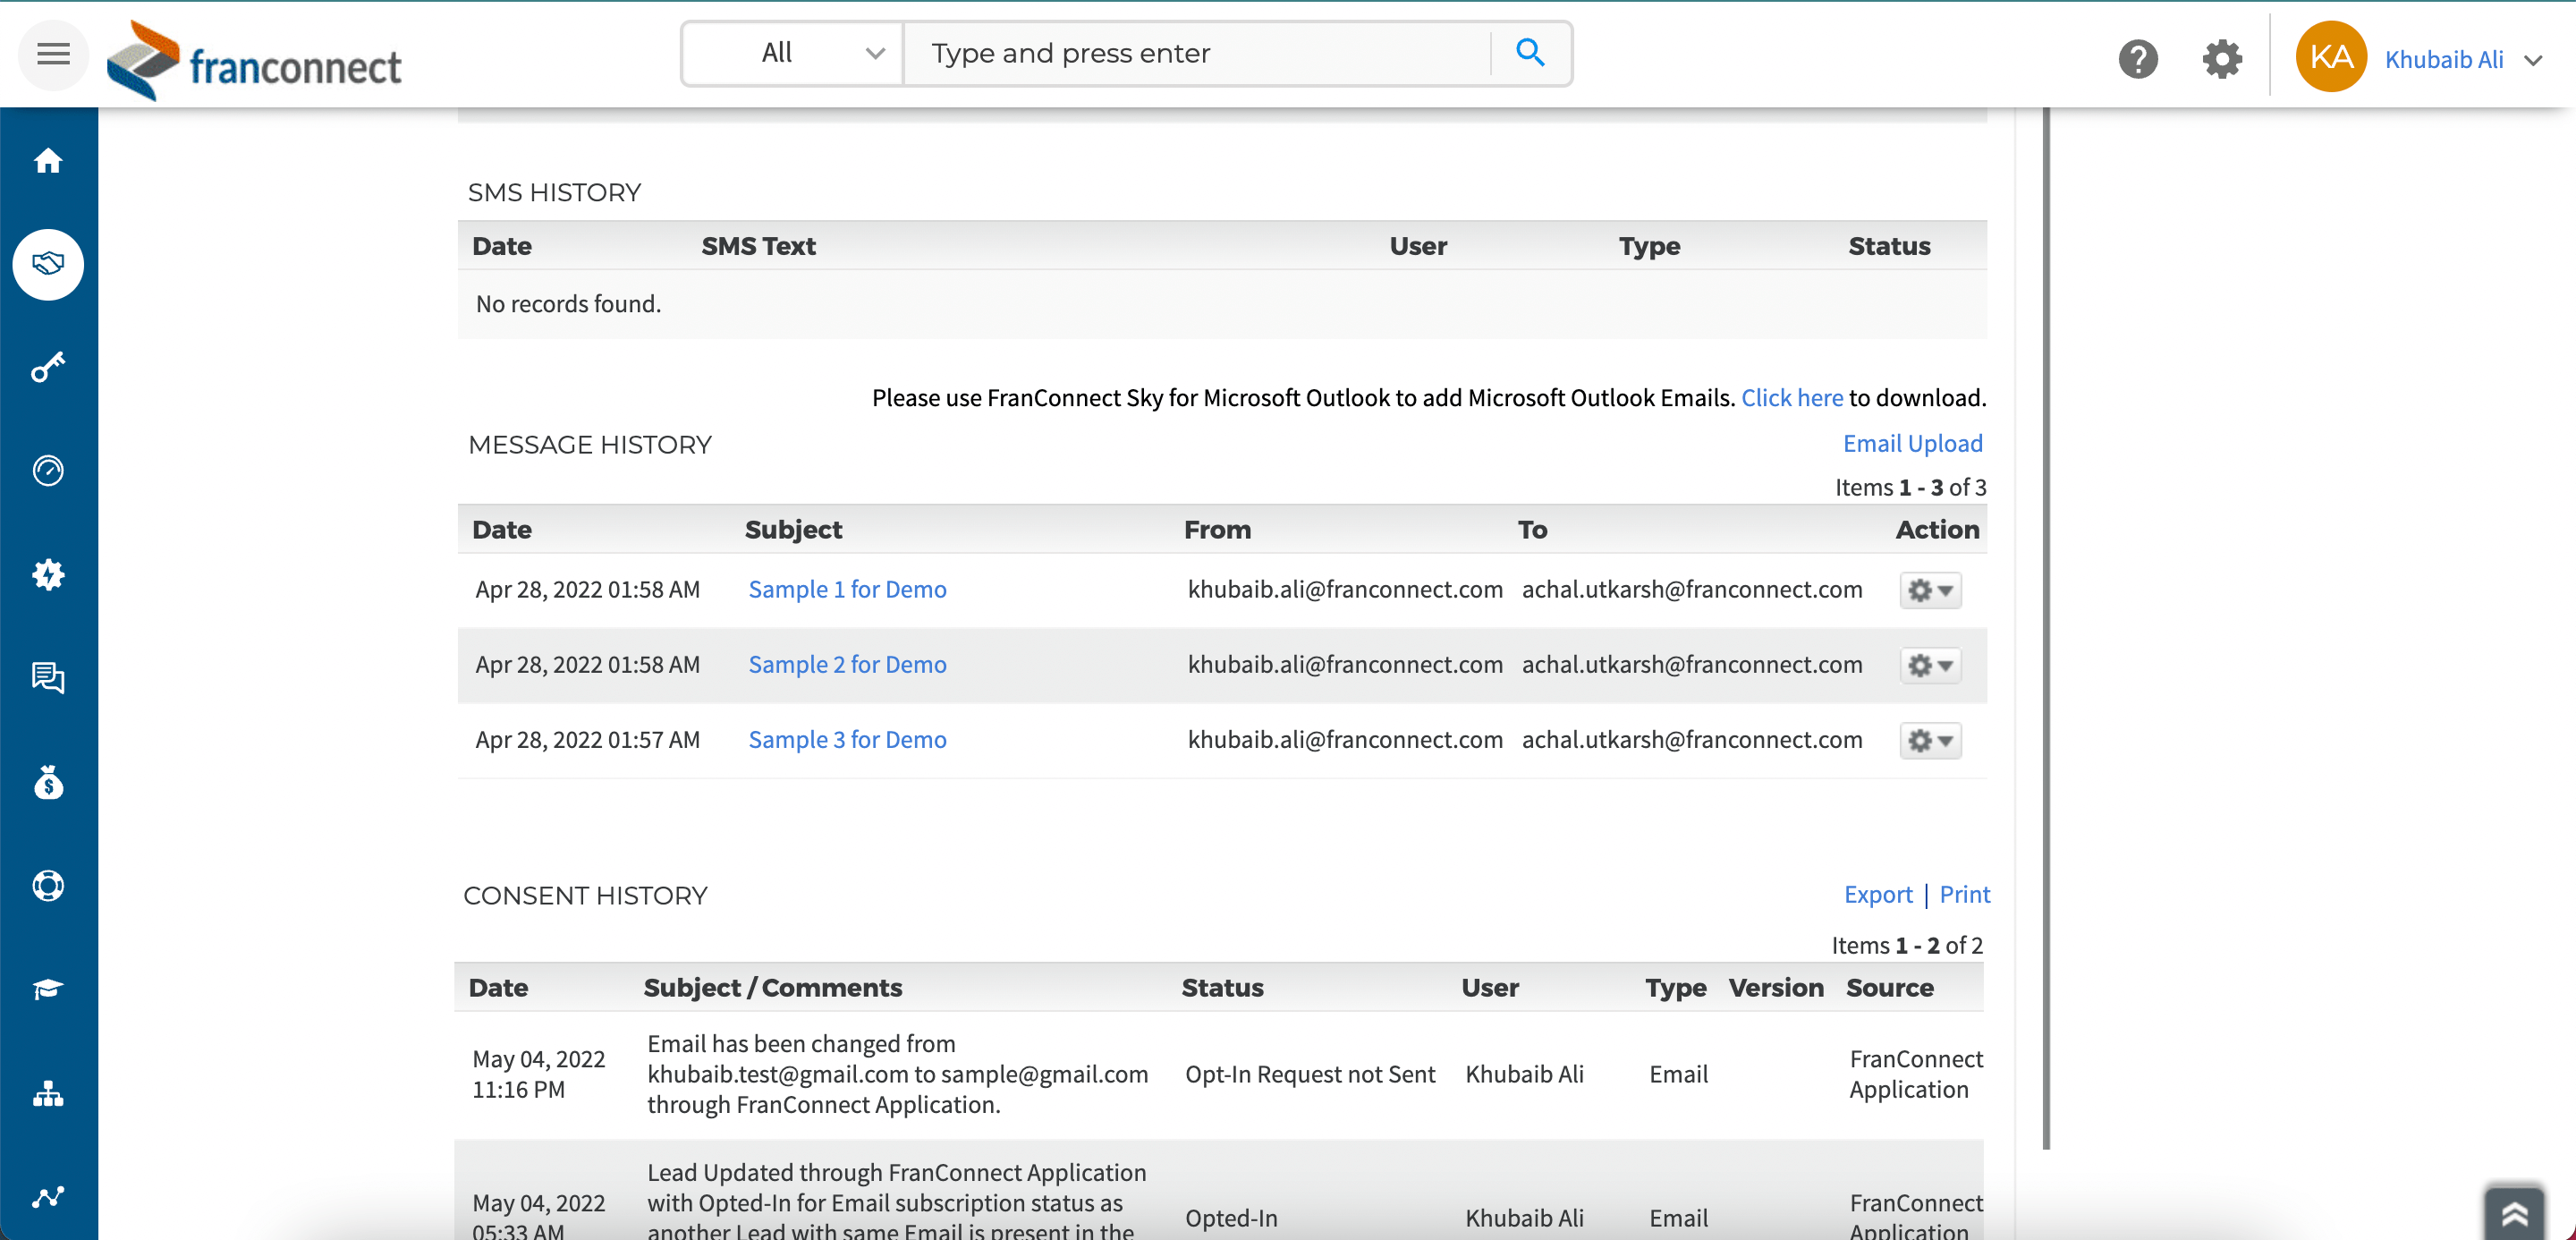
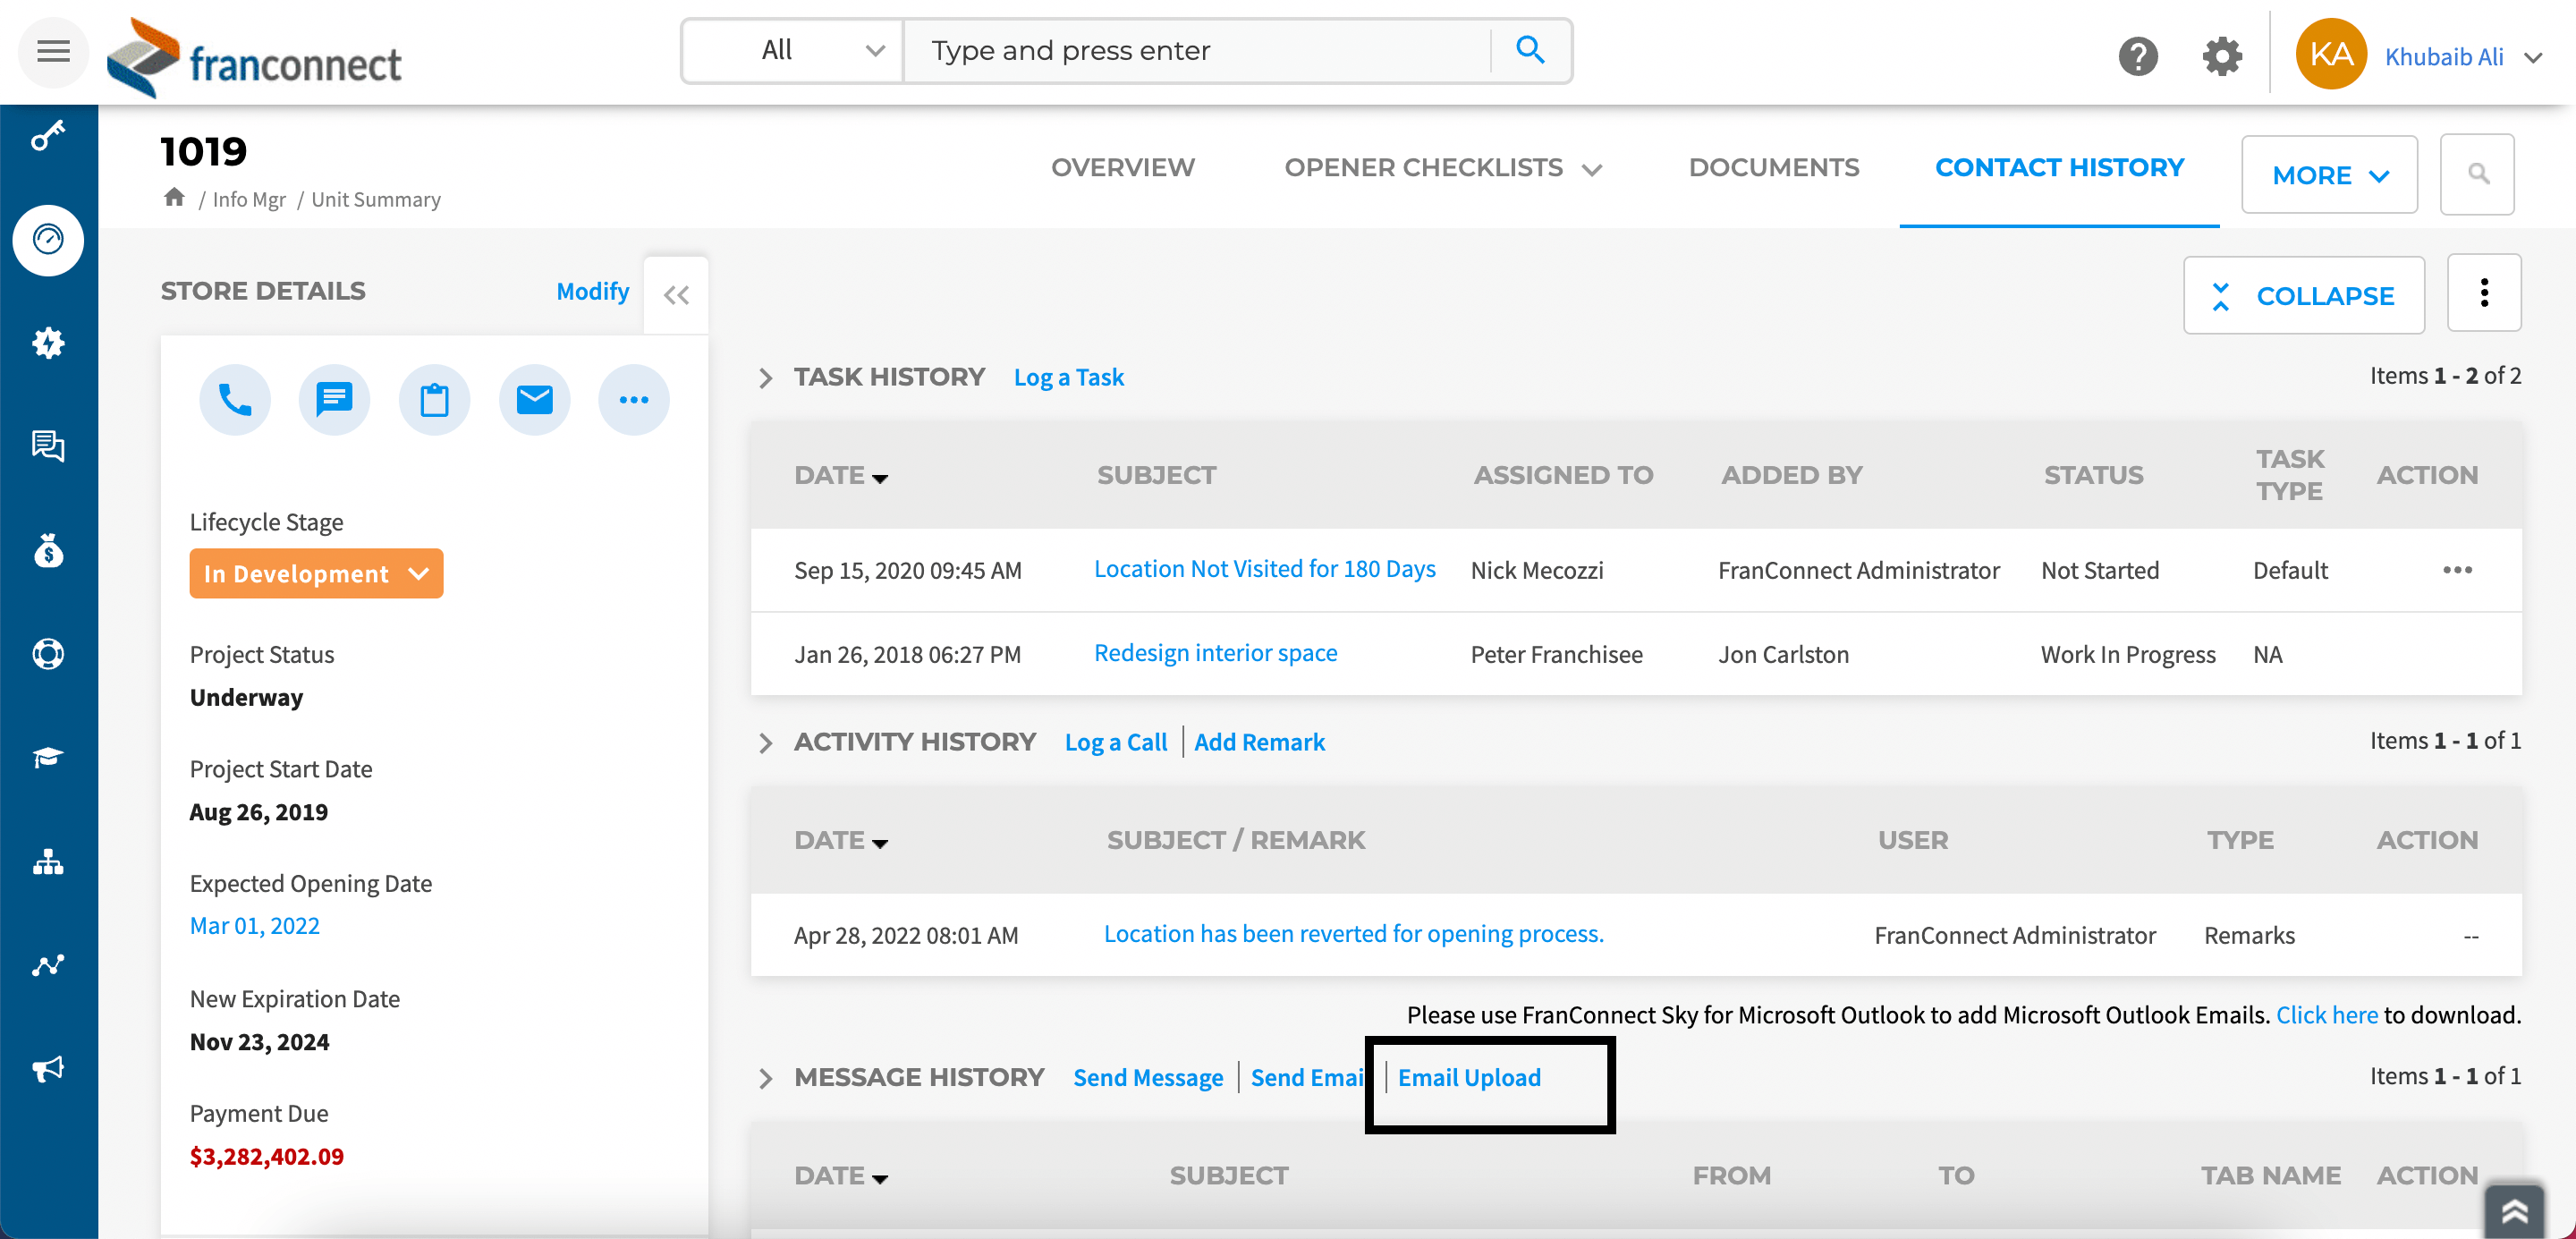
2. Once you’ve opened up a particular lead to which you want to upload a set of emails, navigate to the Message History section of the lead which is available on the Primary Info tab.
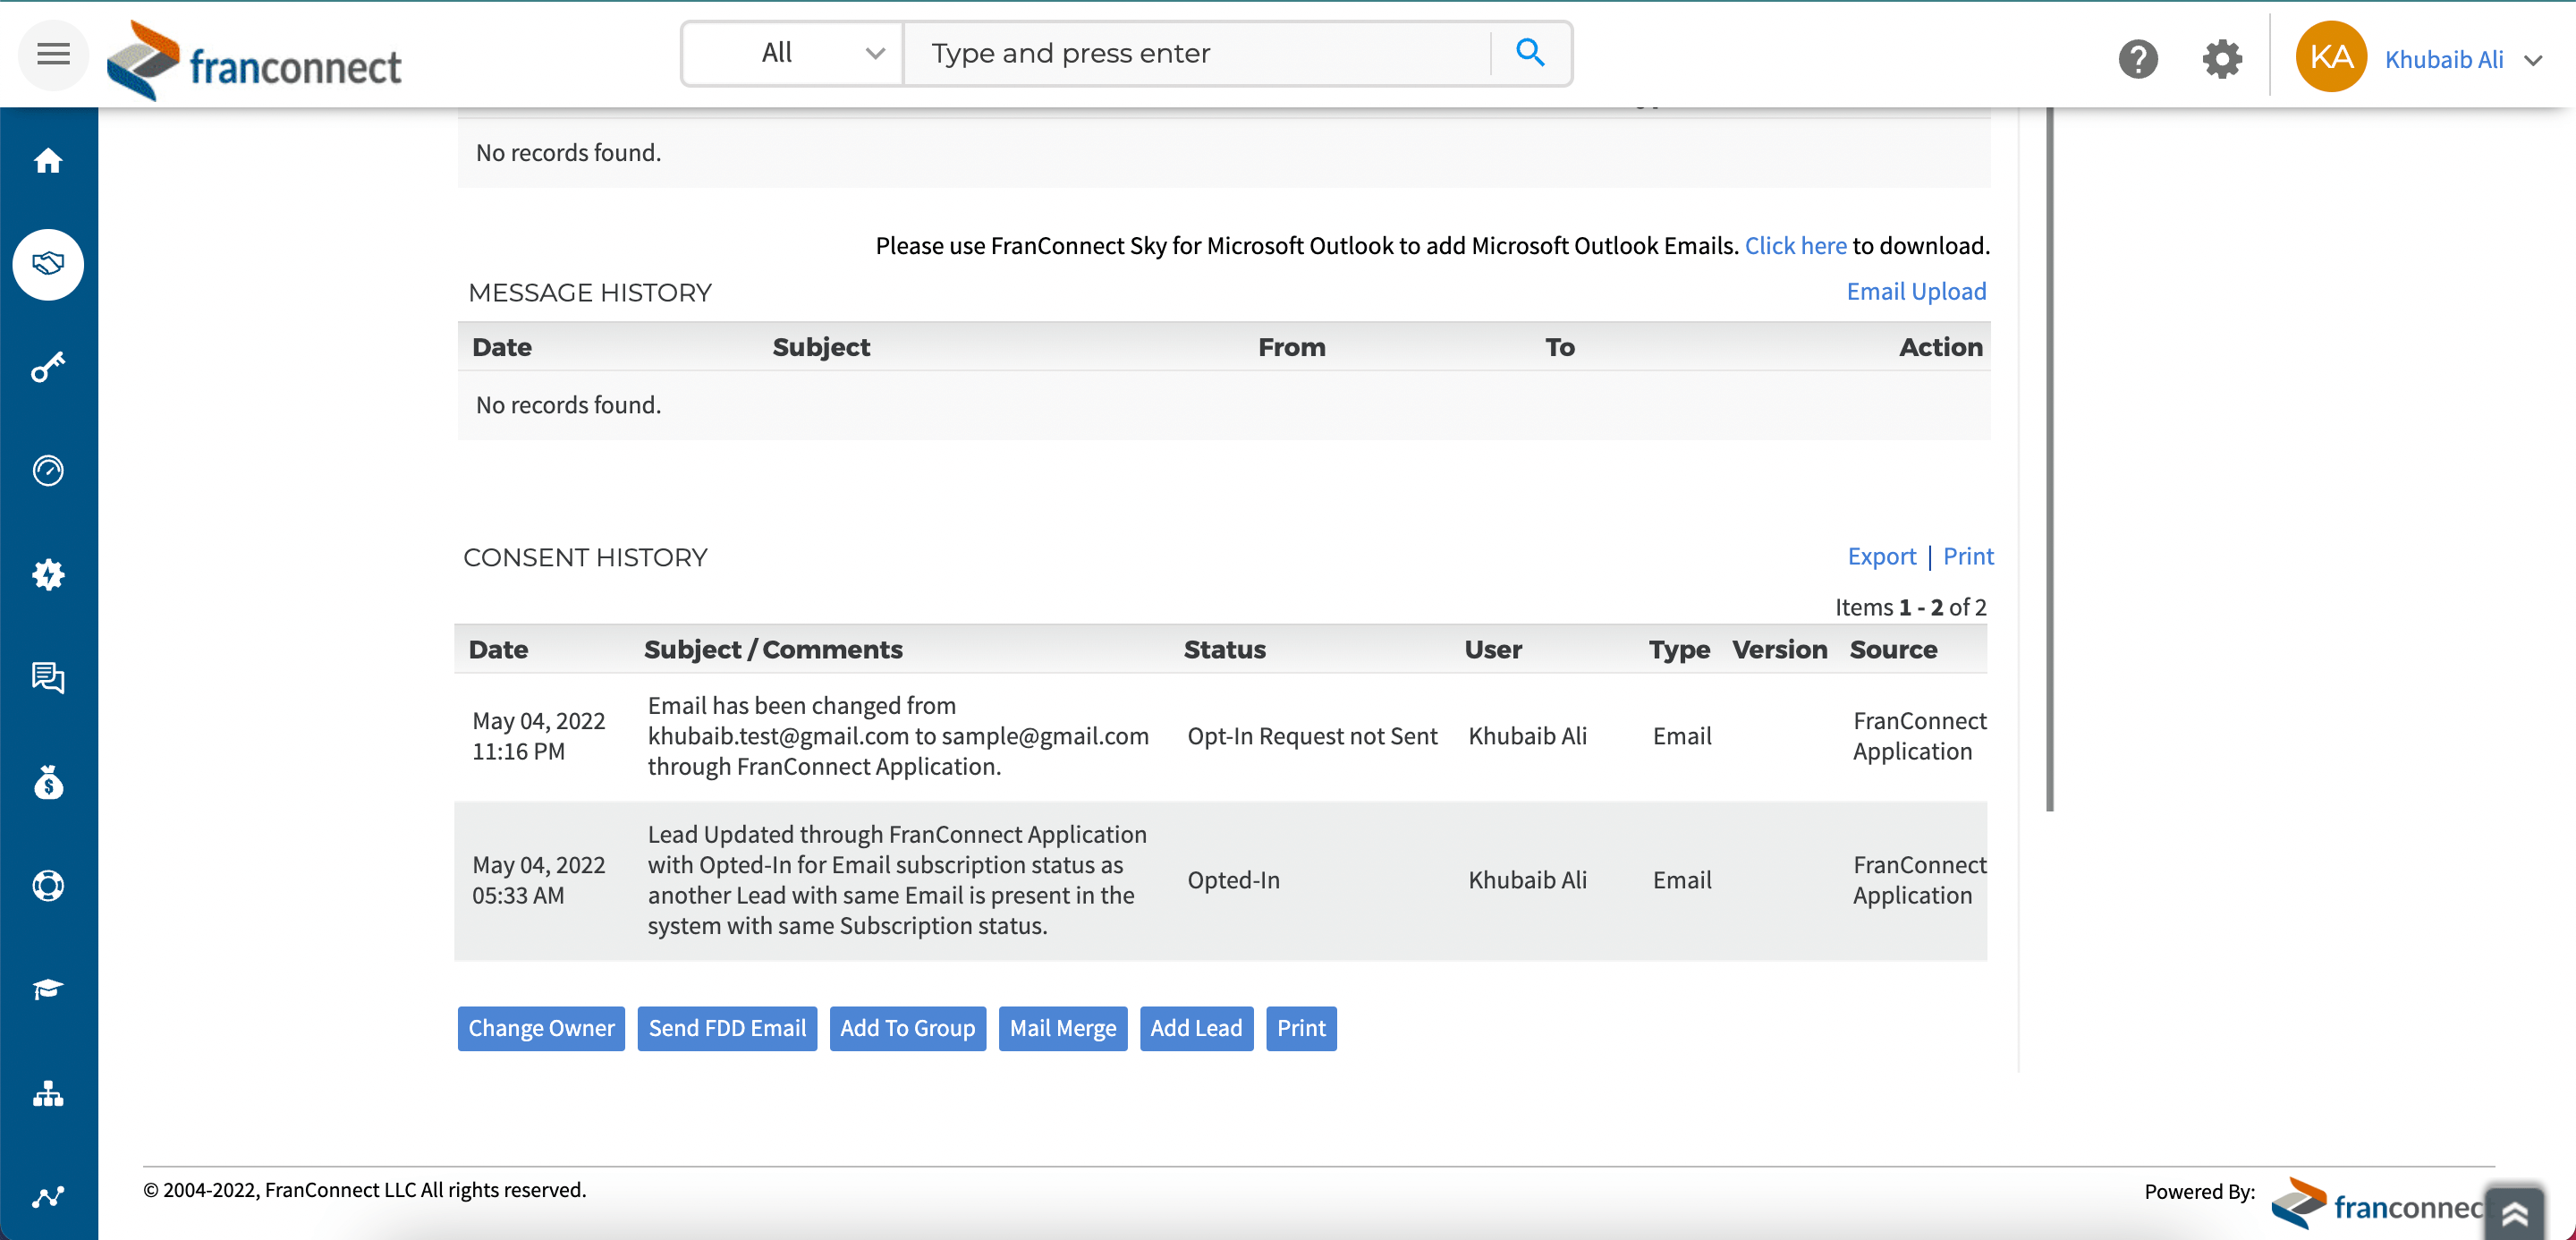
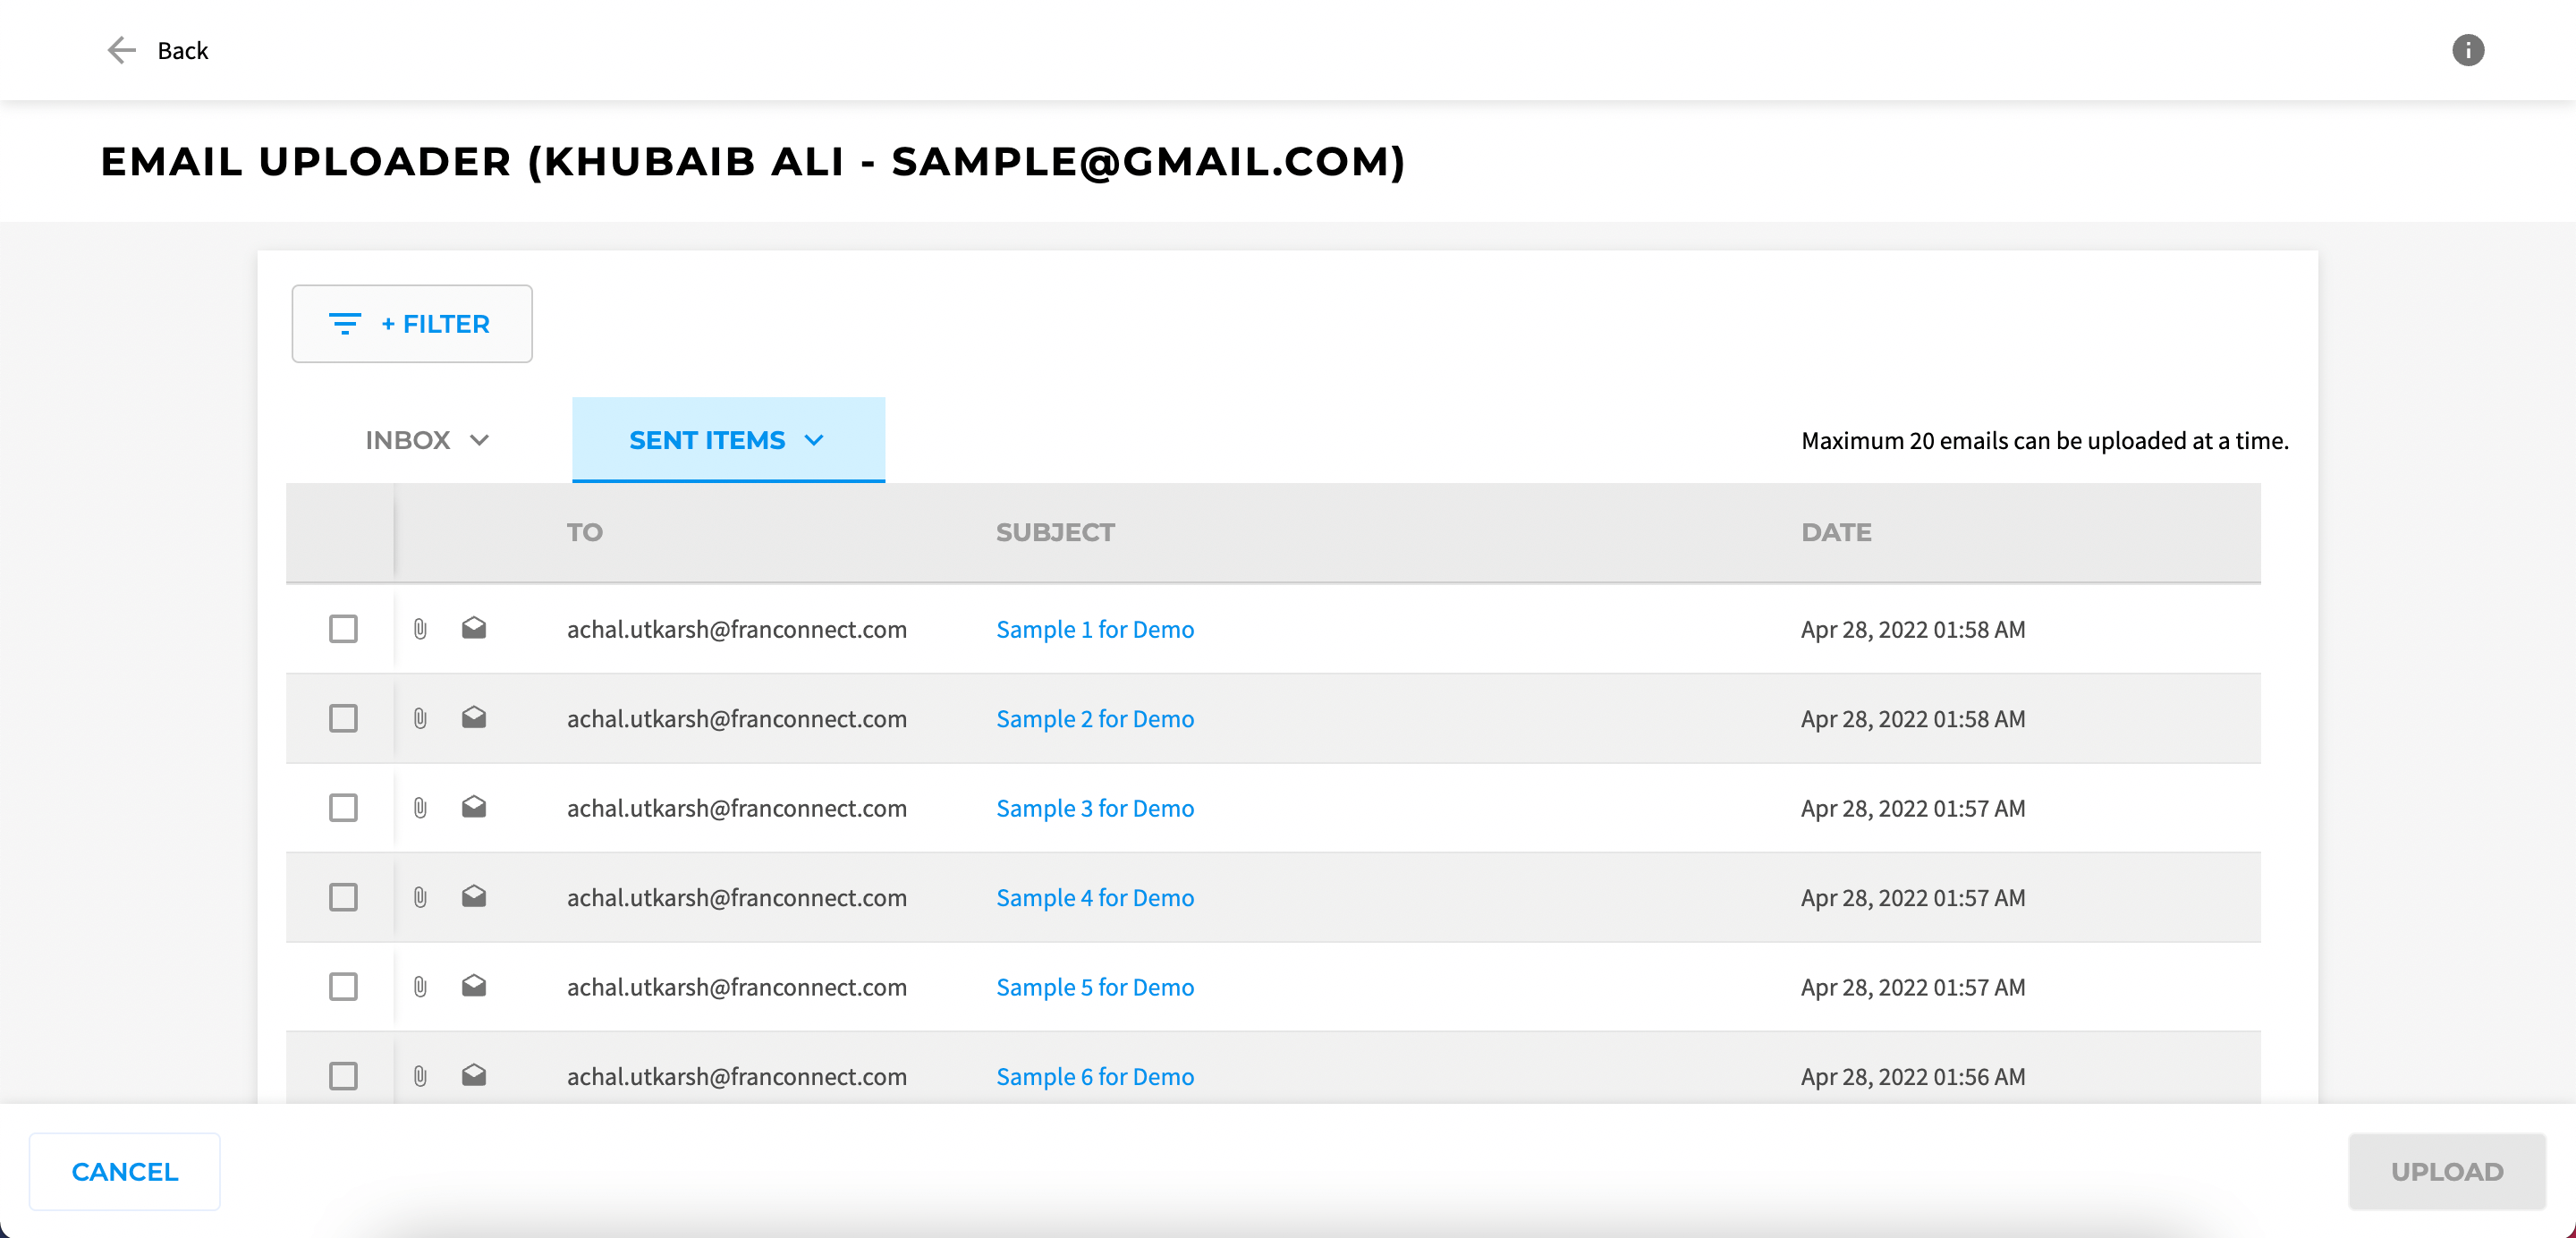
3. Selecting the Email Upload button will open up an interface (Email Uploader page) where the emails of the configured account will be listed according to the selected folder. You can select different configured folders from the drop-down menu as shown in the image below:-
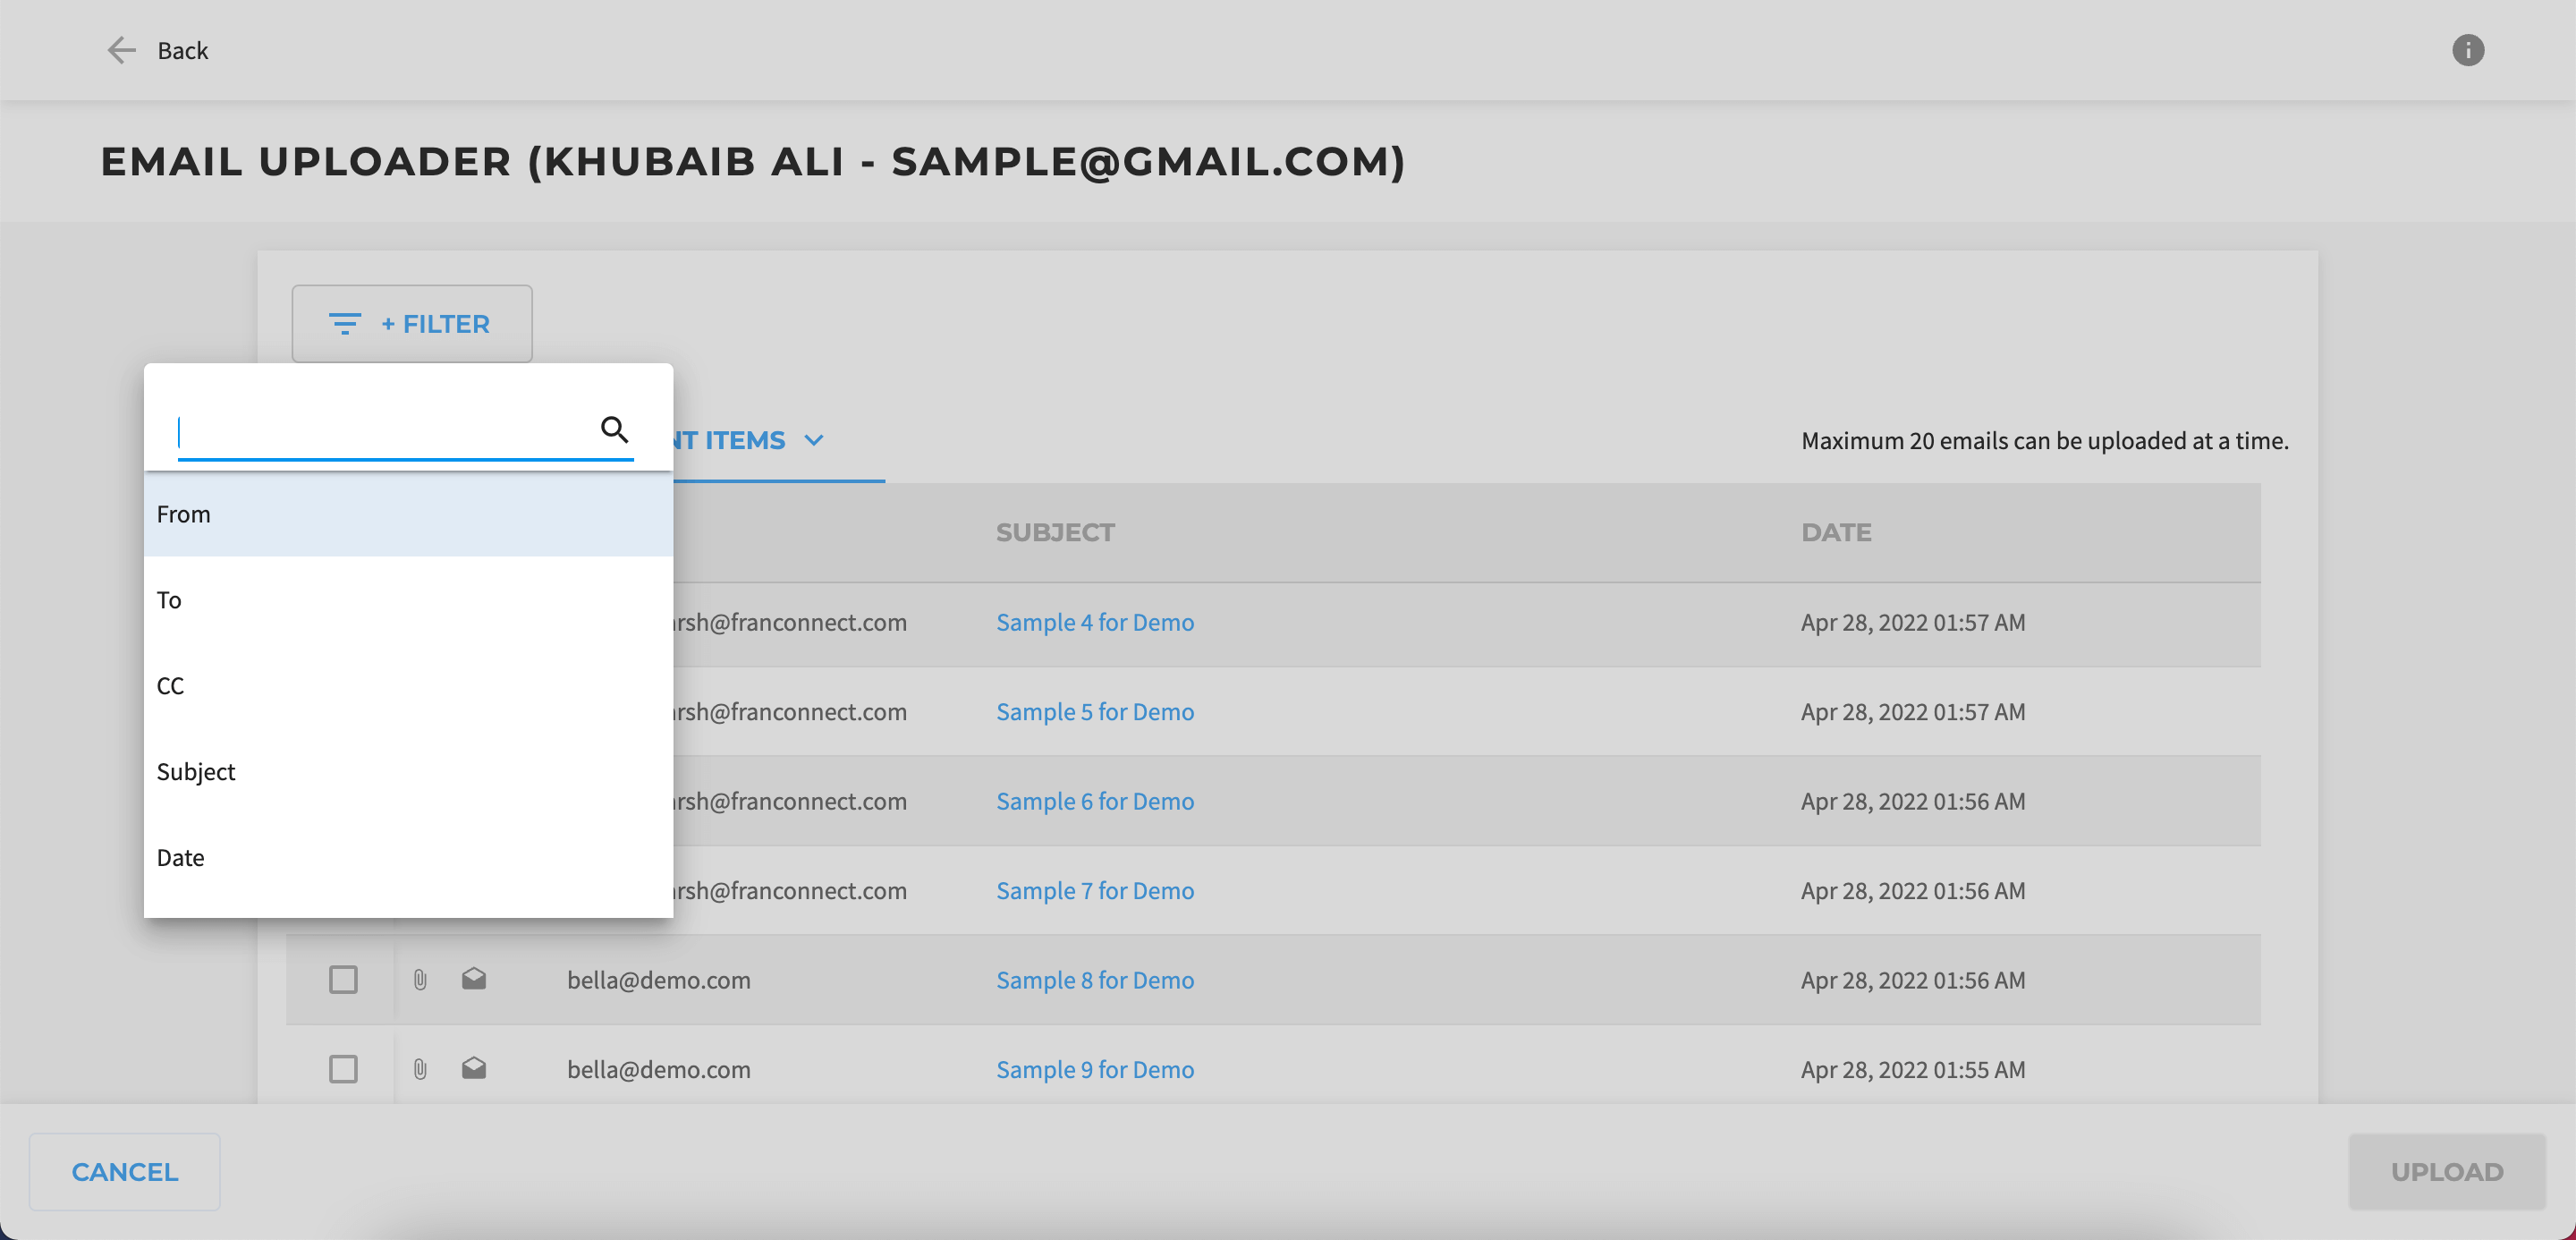
4. You can also apply different filters to narrow down your search by selecting any of the available filter criteria as shown in the image below:-
5. As you scroll down more emails will keep on loading on the page.
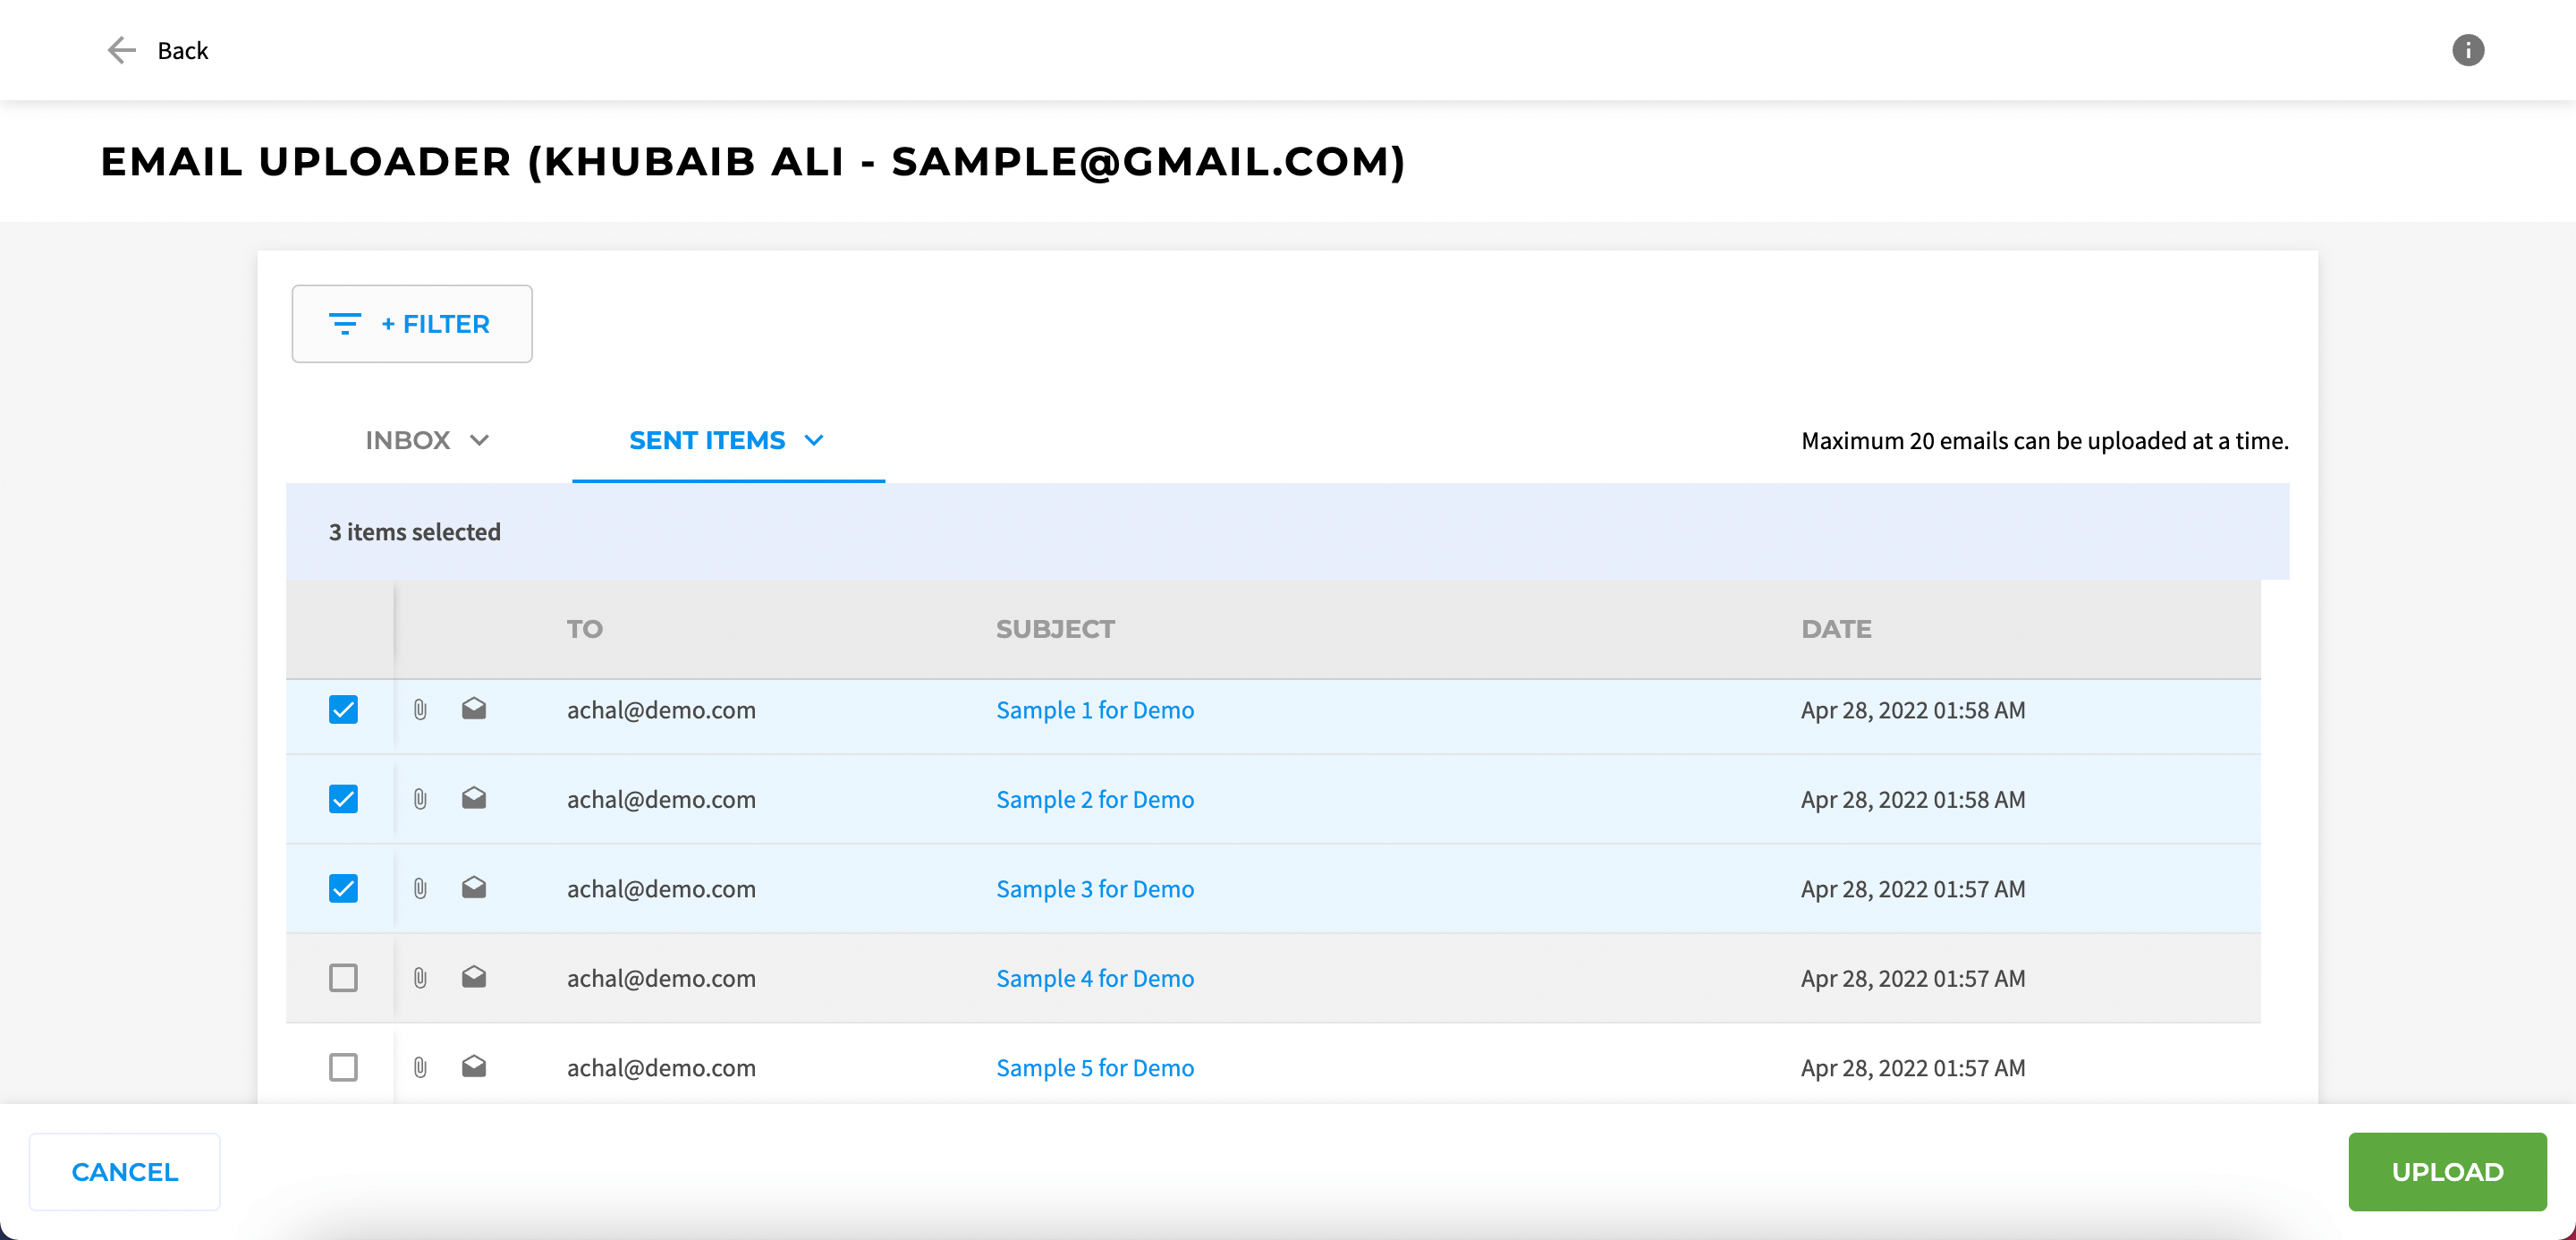
6. Select the emails that you want and hit the upload button to upload all the selected emails to the selected record (In our example, the selected record is a Lead: Khubaib Ali). Please note that only 20 emails can be uploaded at a time.
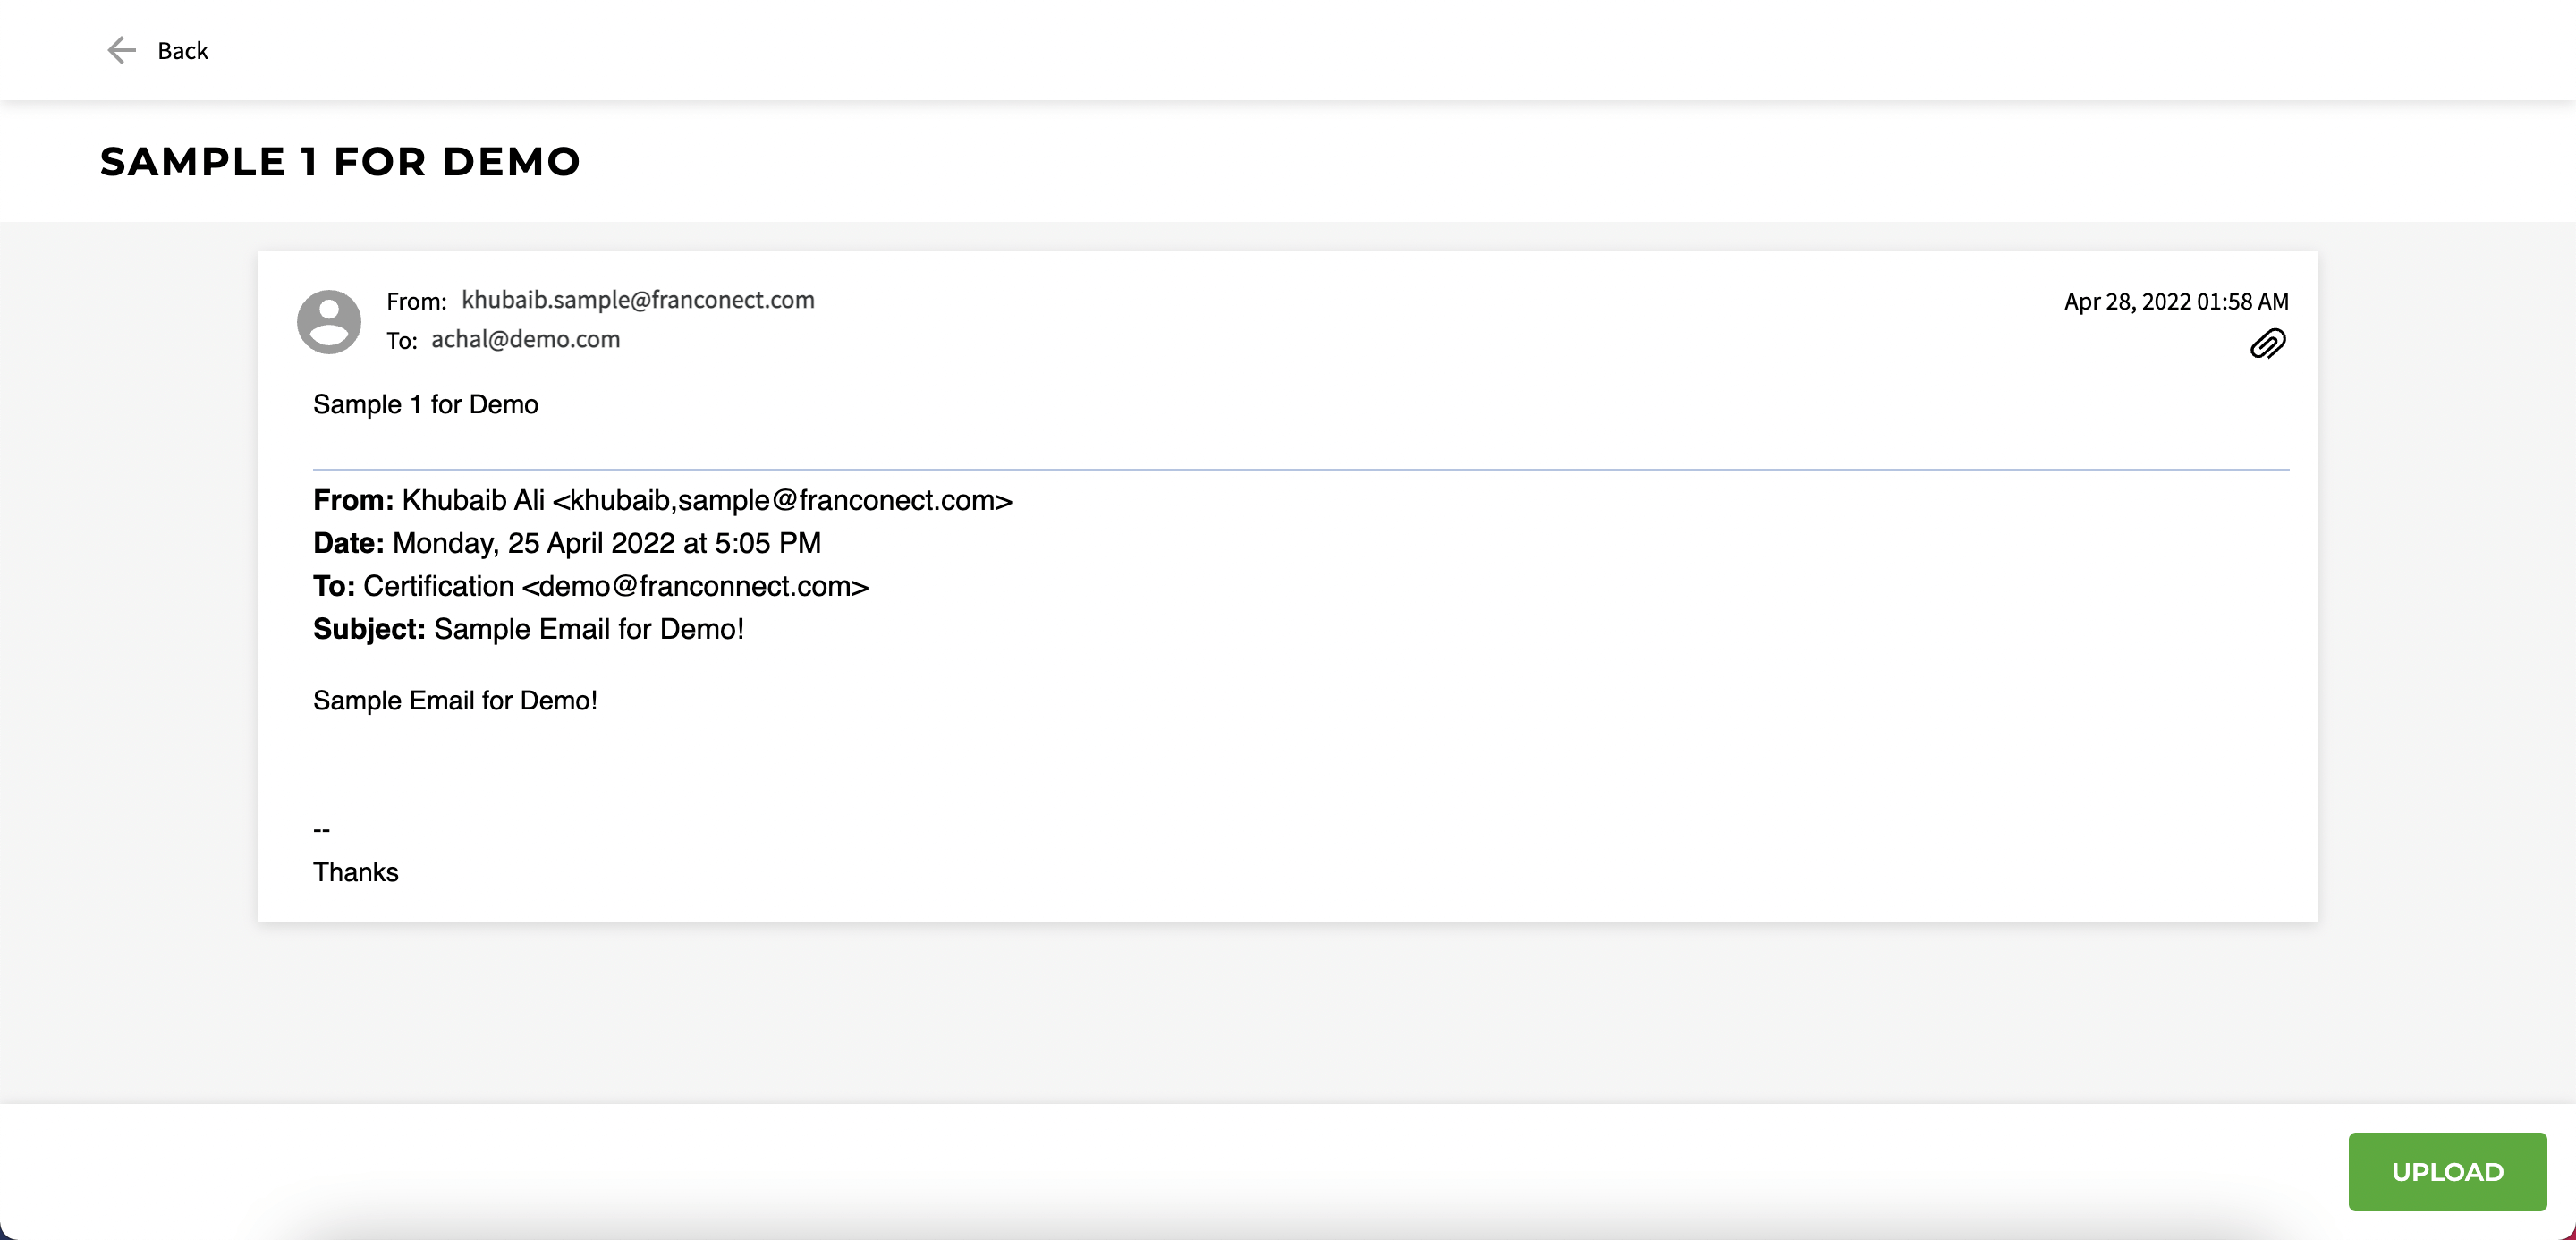
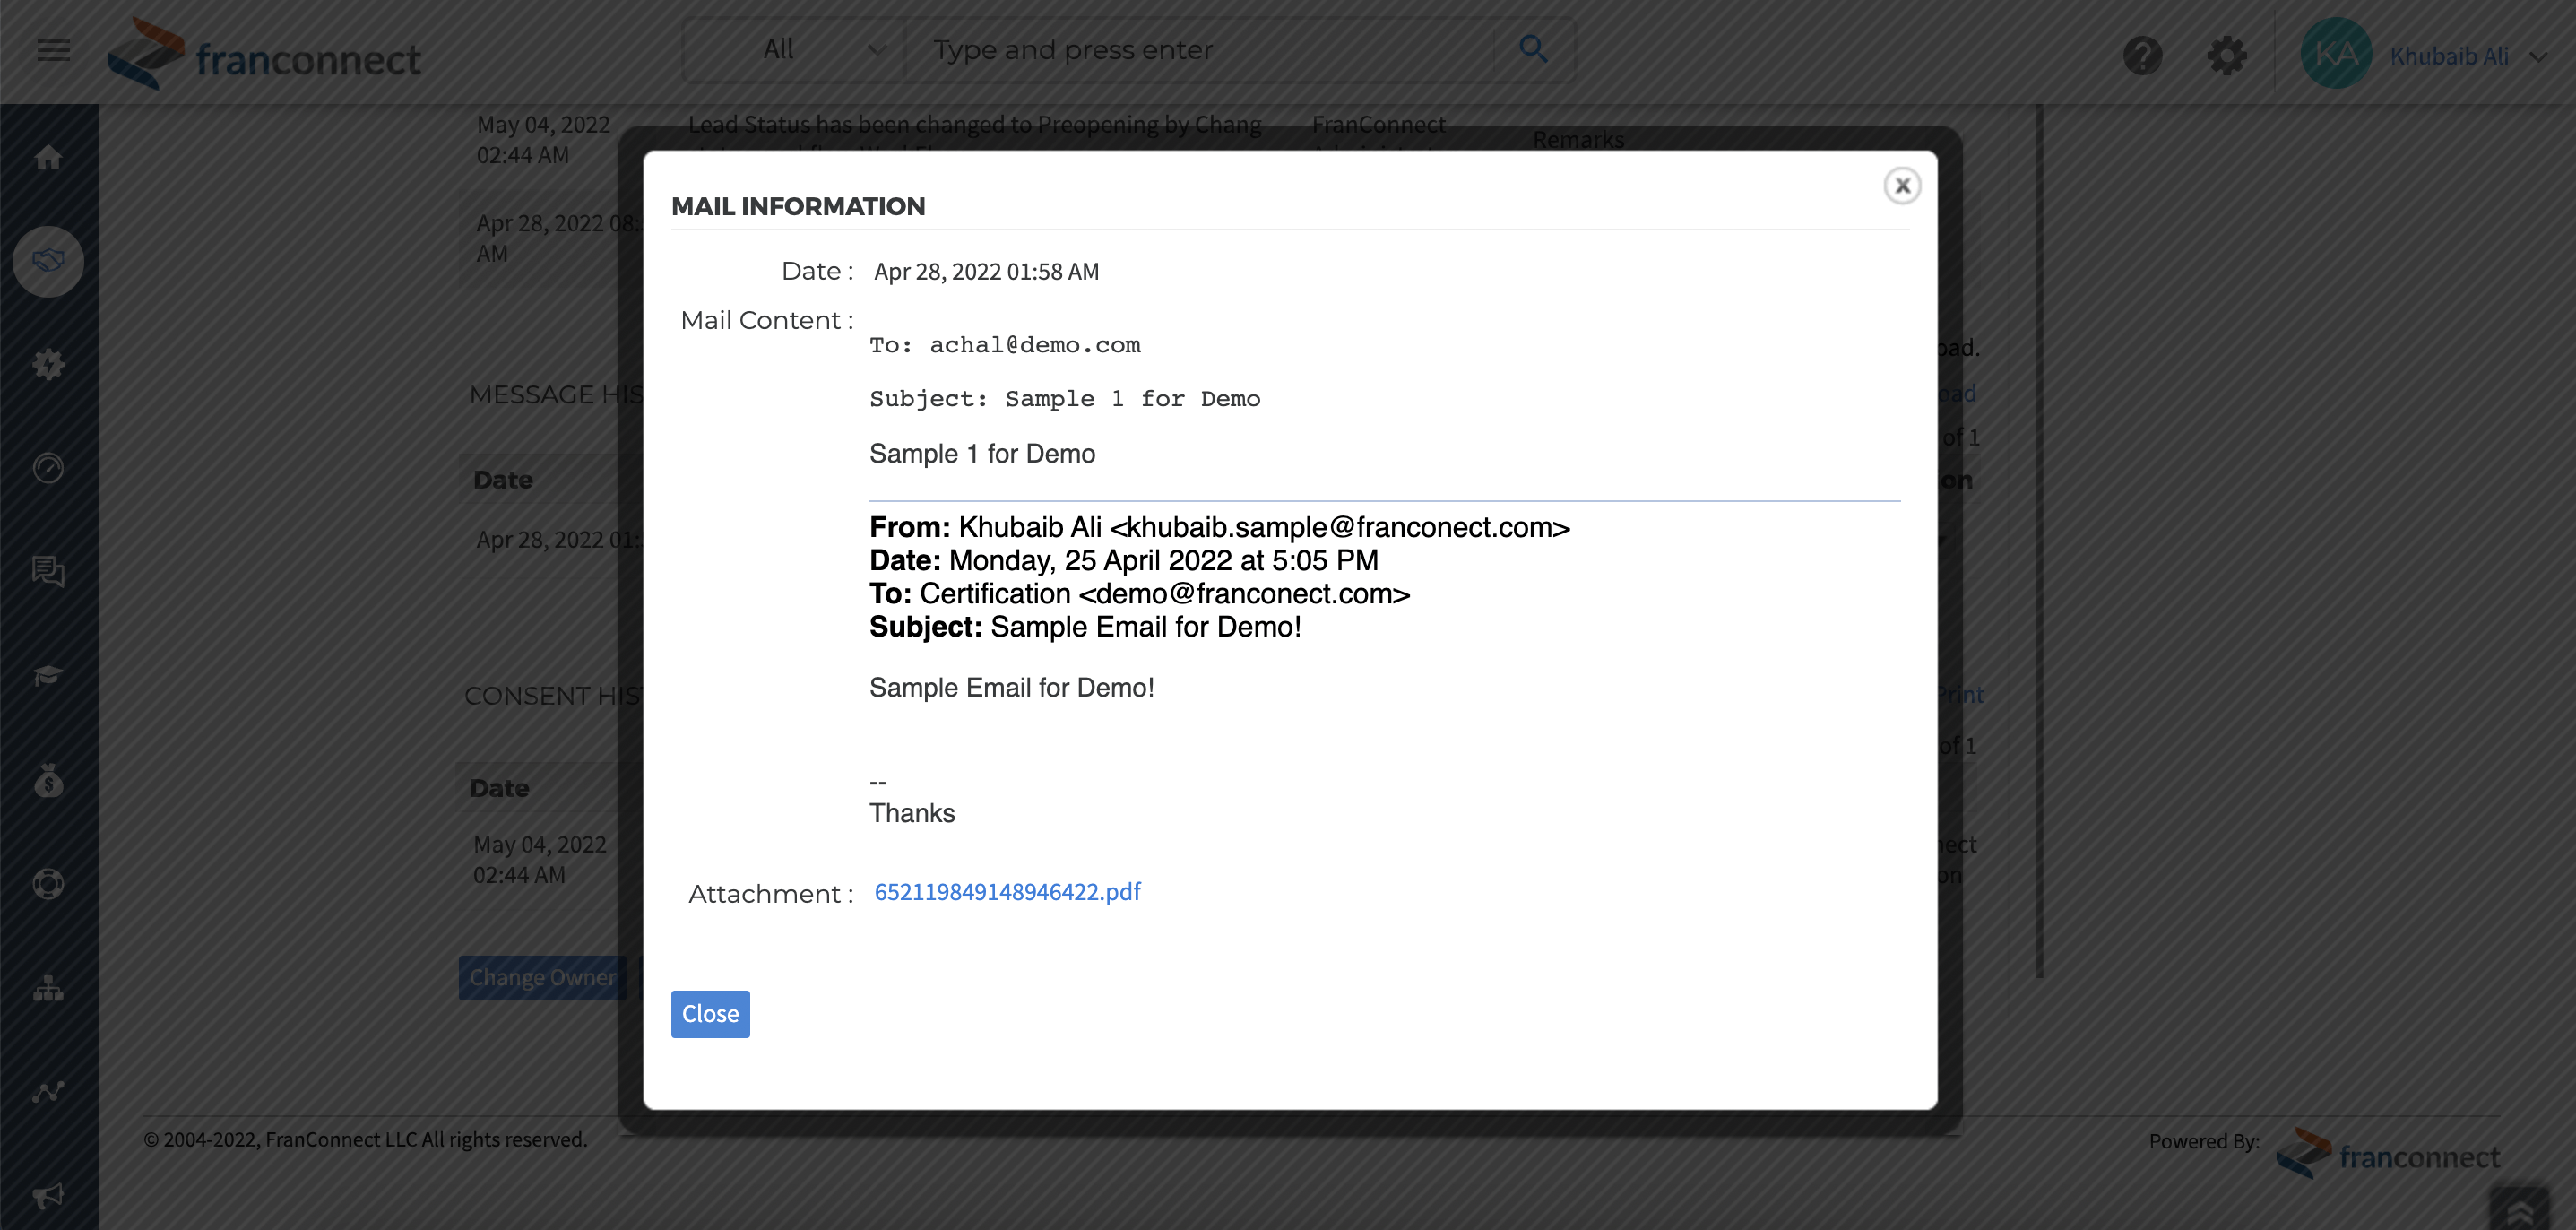
7. To read an email, you can select the Subject of a particular email. You will also be able to upload the selected email from the email details page by selecting the upload button on the bottom right as shown in the image below:-
8. Once the email(s) get uploaded, it will show up a message as shown in the image below:-
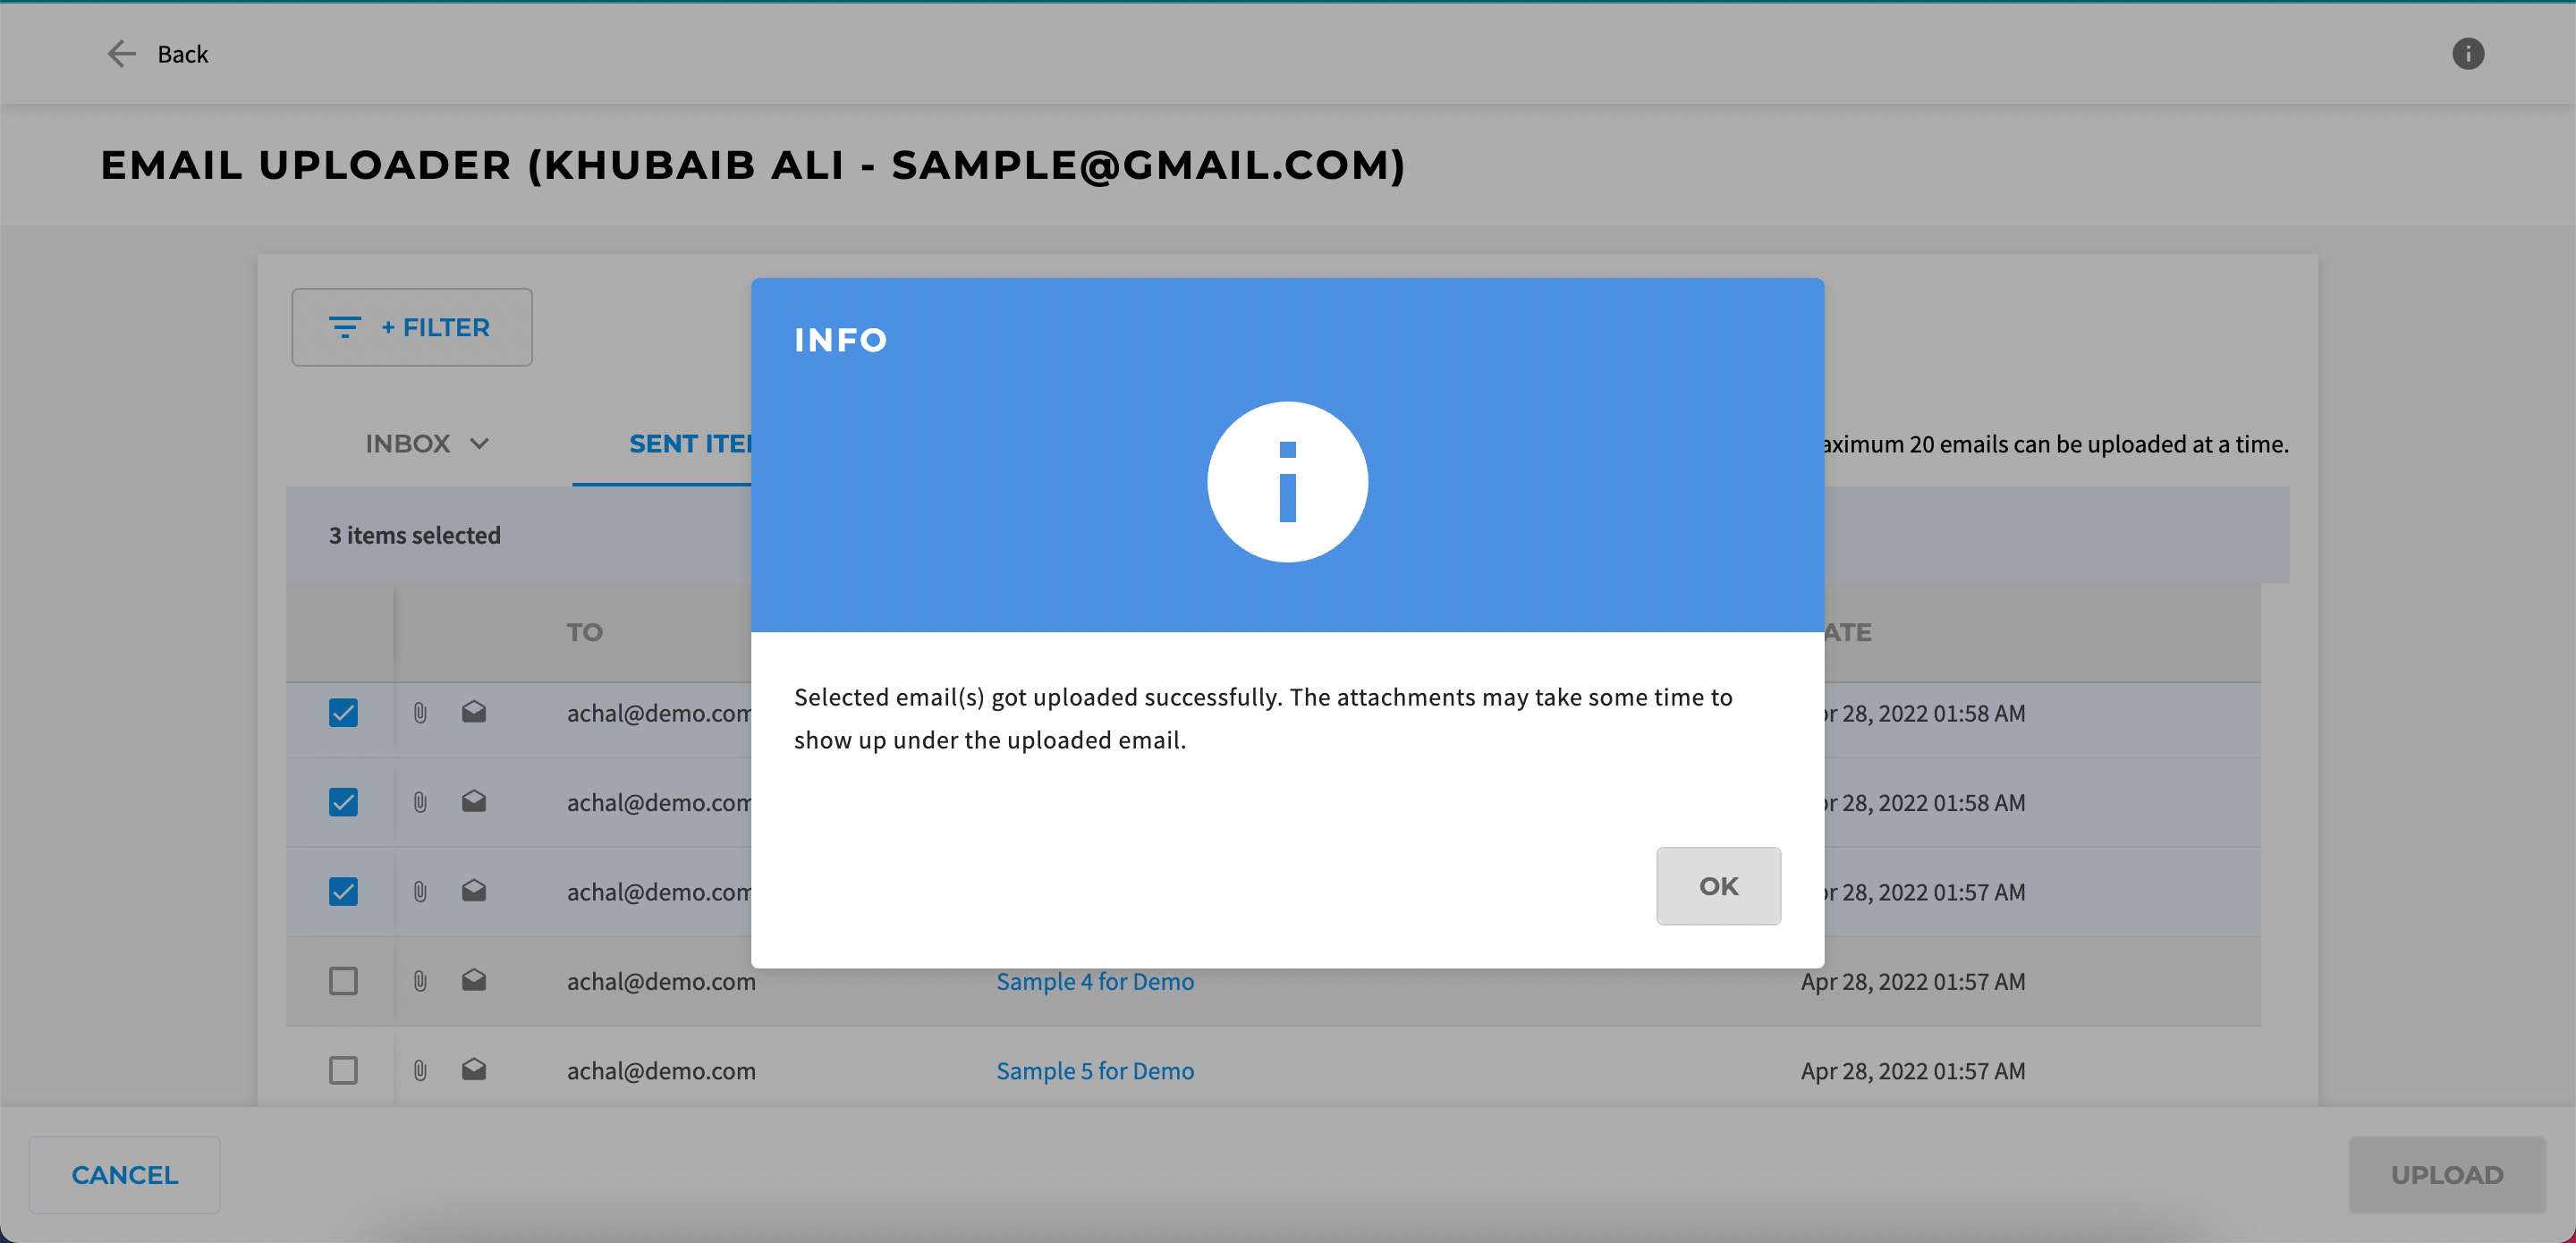
9. Selecting OK will redirect you to your record and all the uploaded emails will begin to appear in the Message History section of that record.
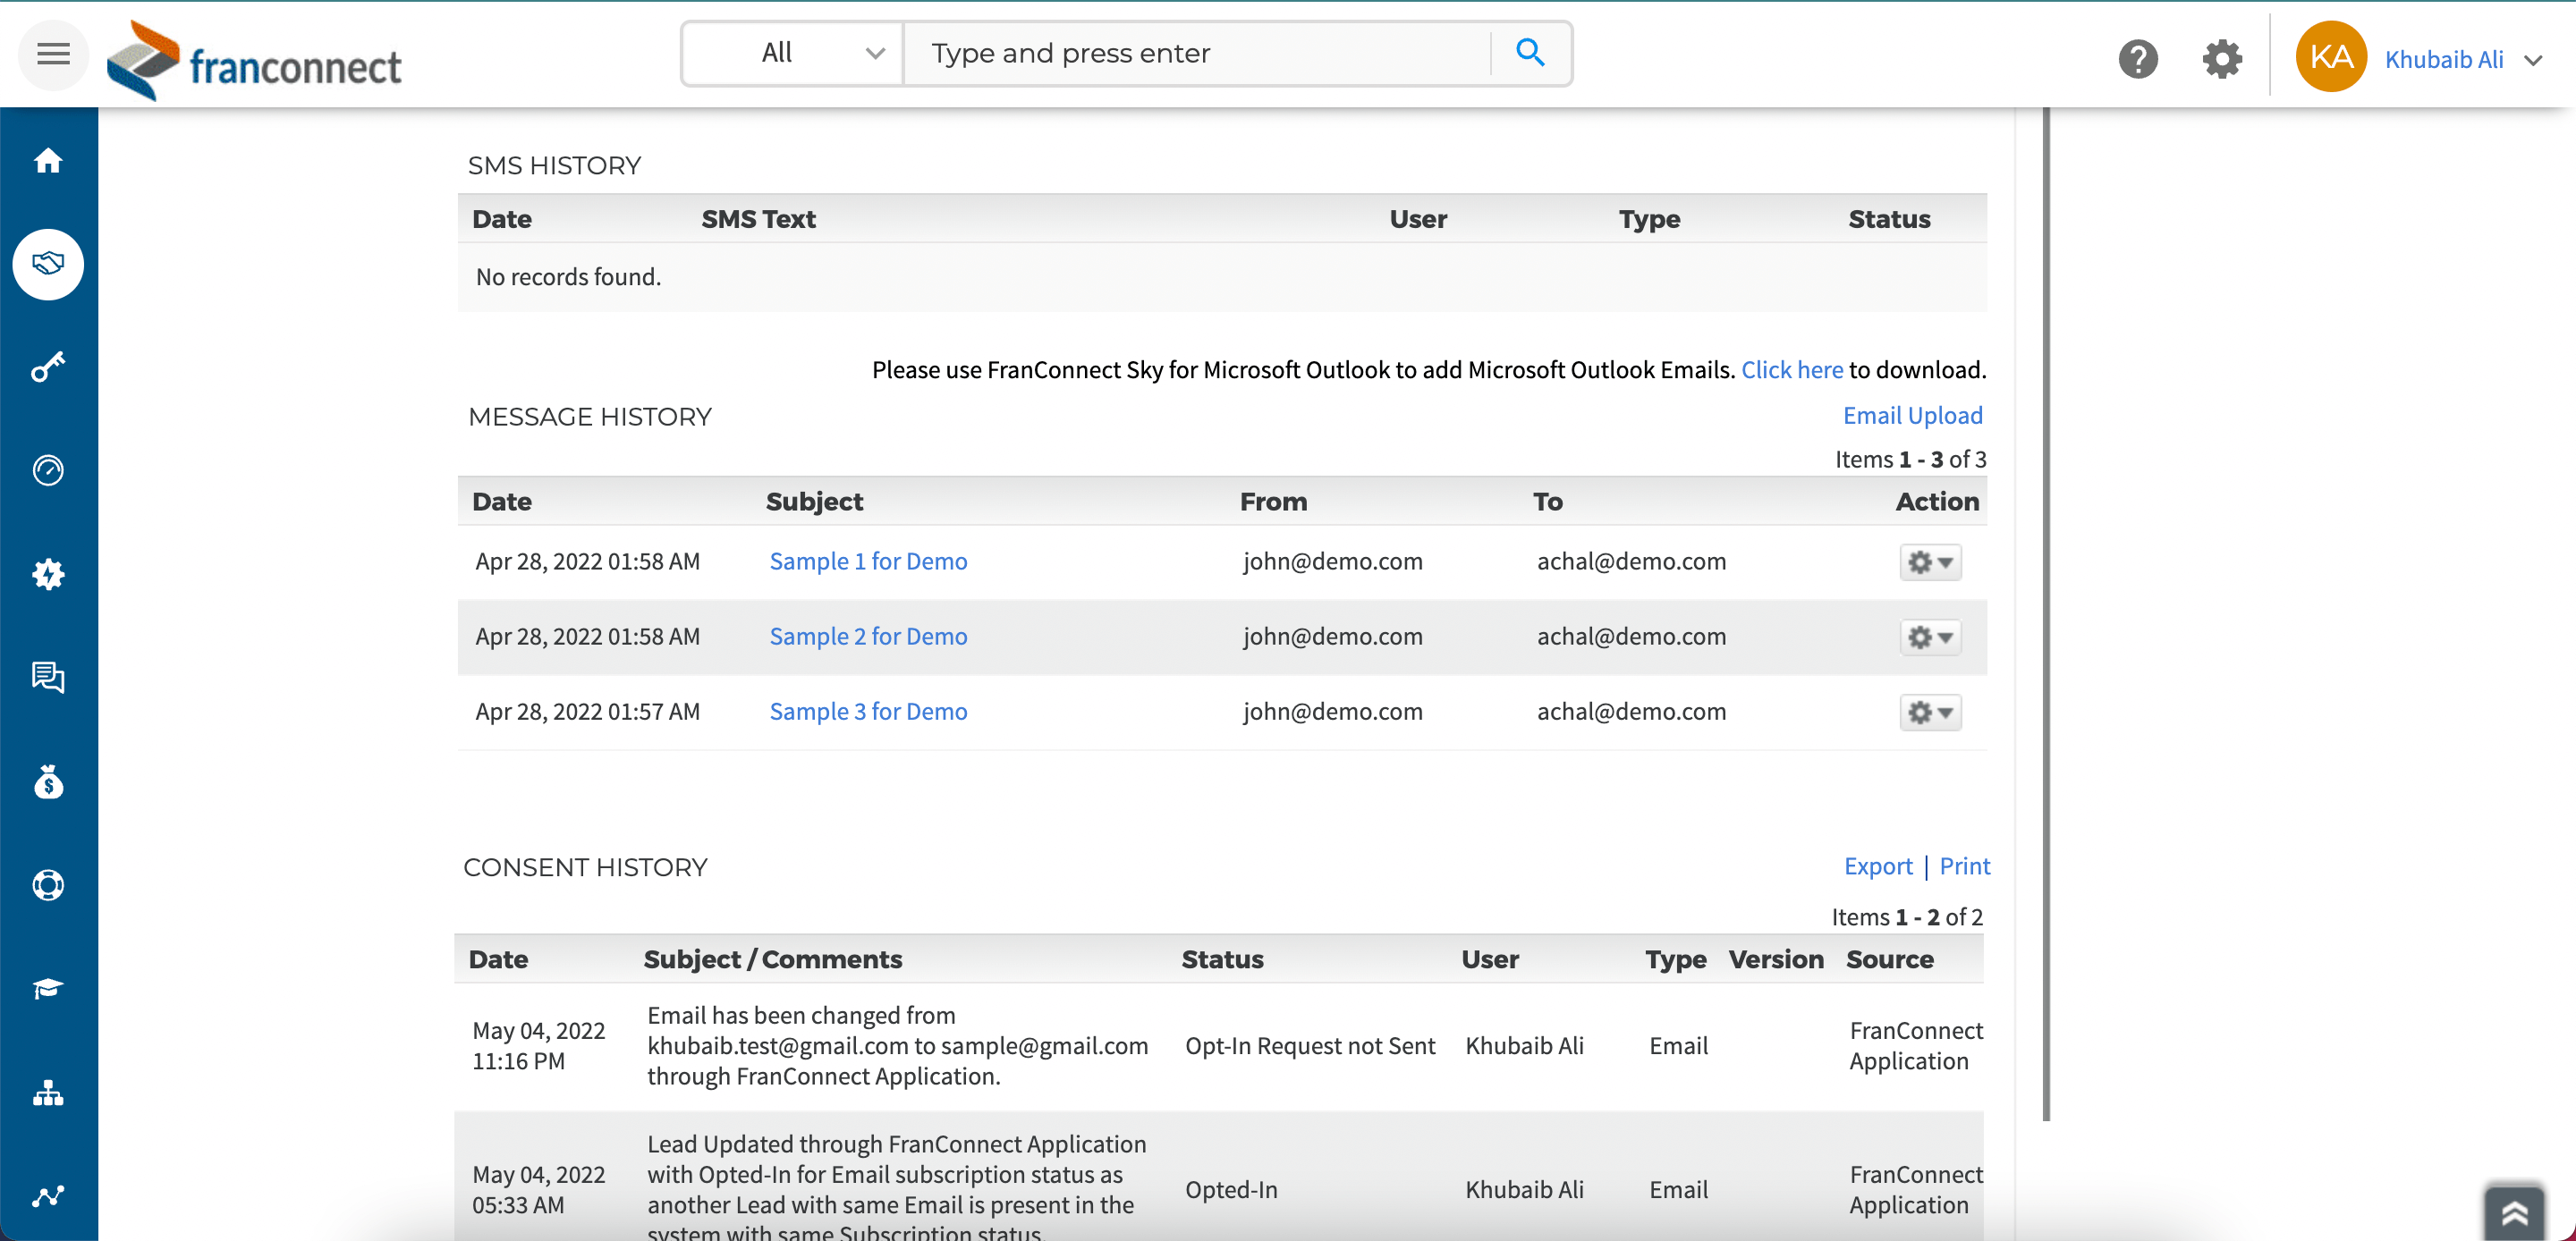
10. You will also be able to view any attachments associated with the uploaded emails.
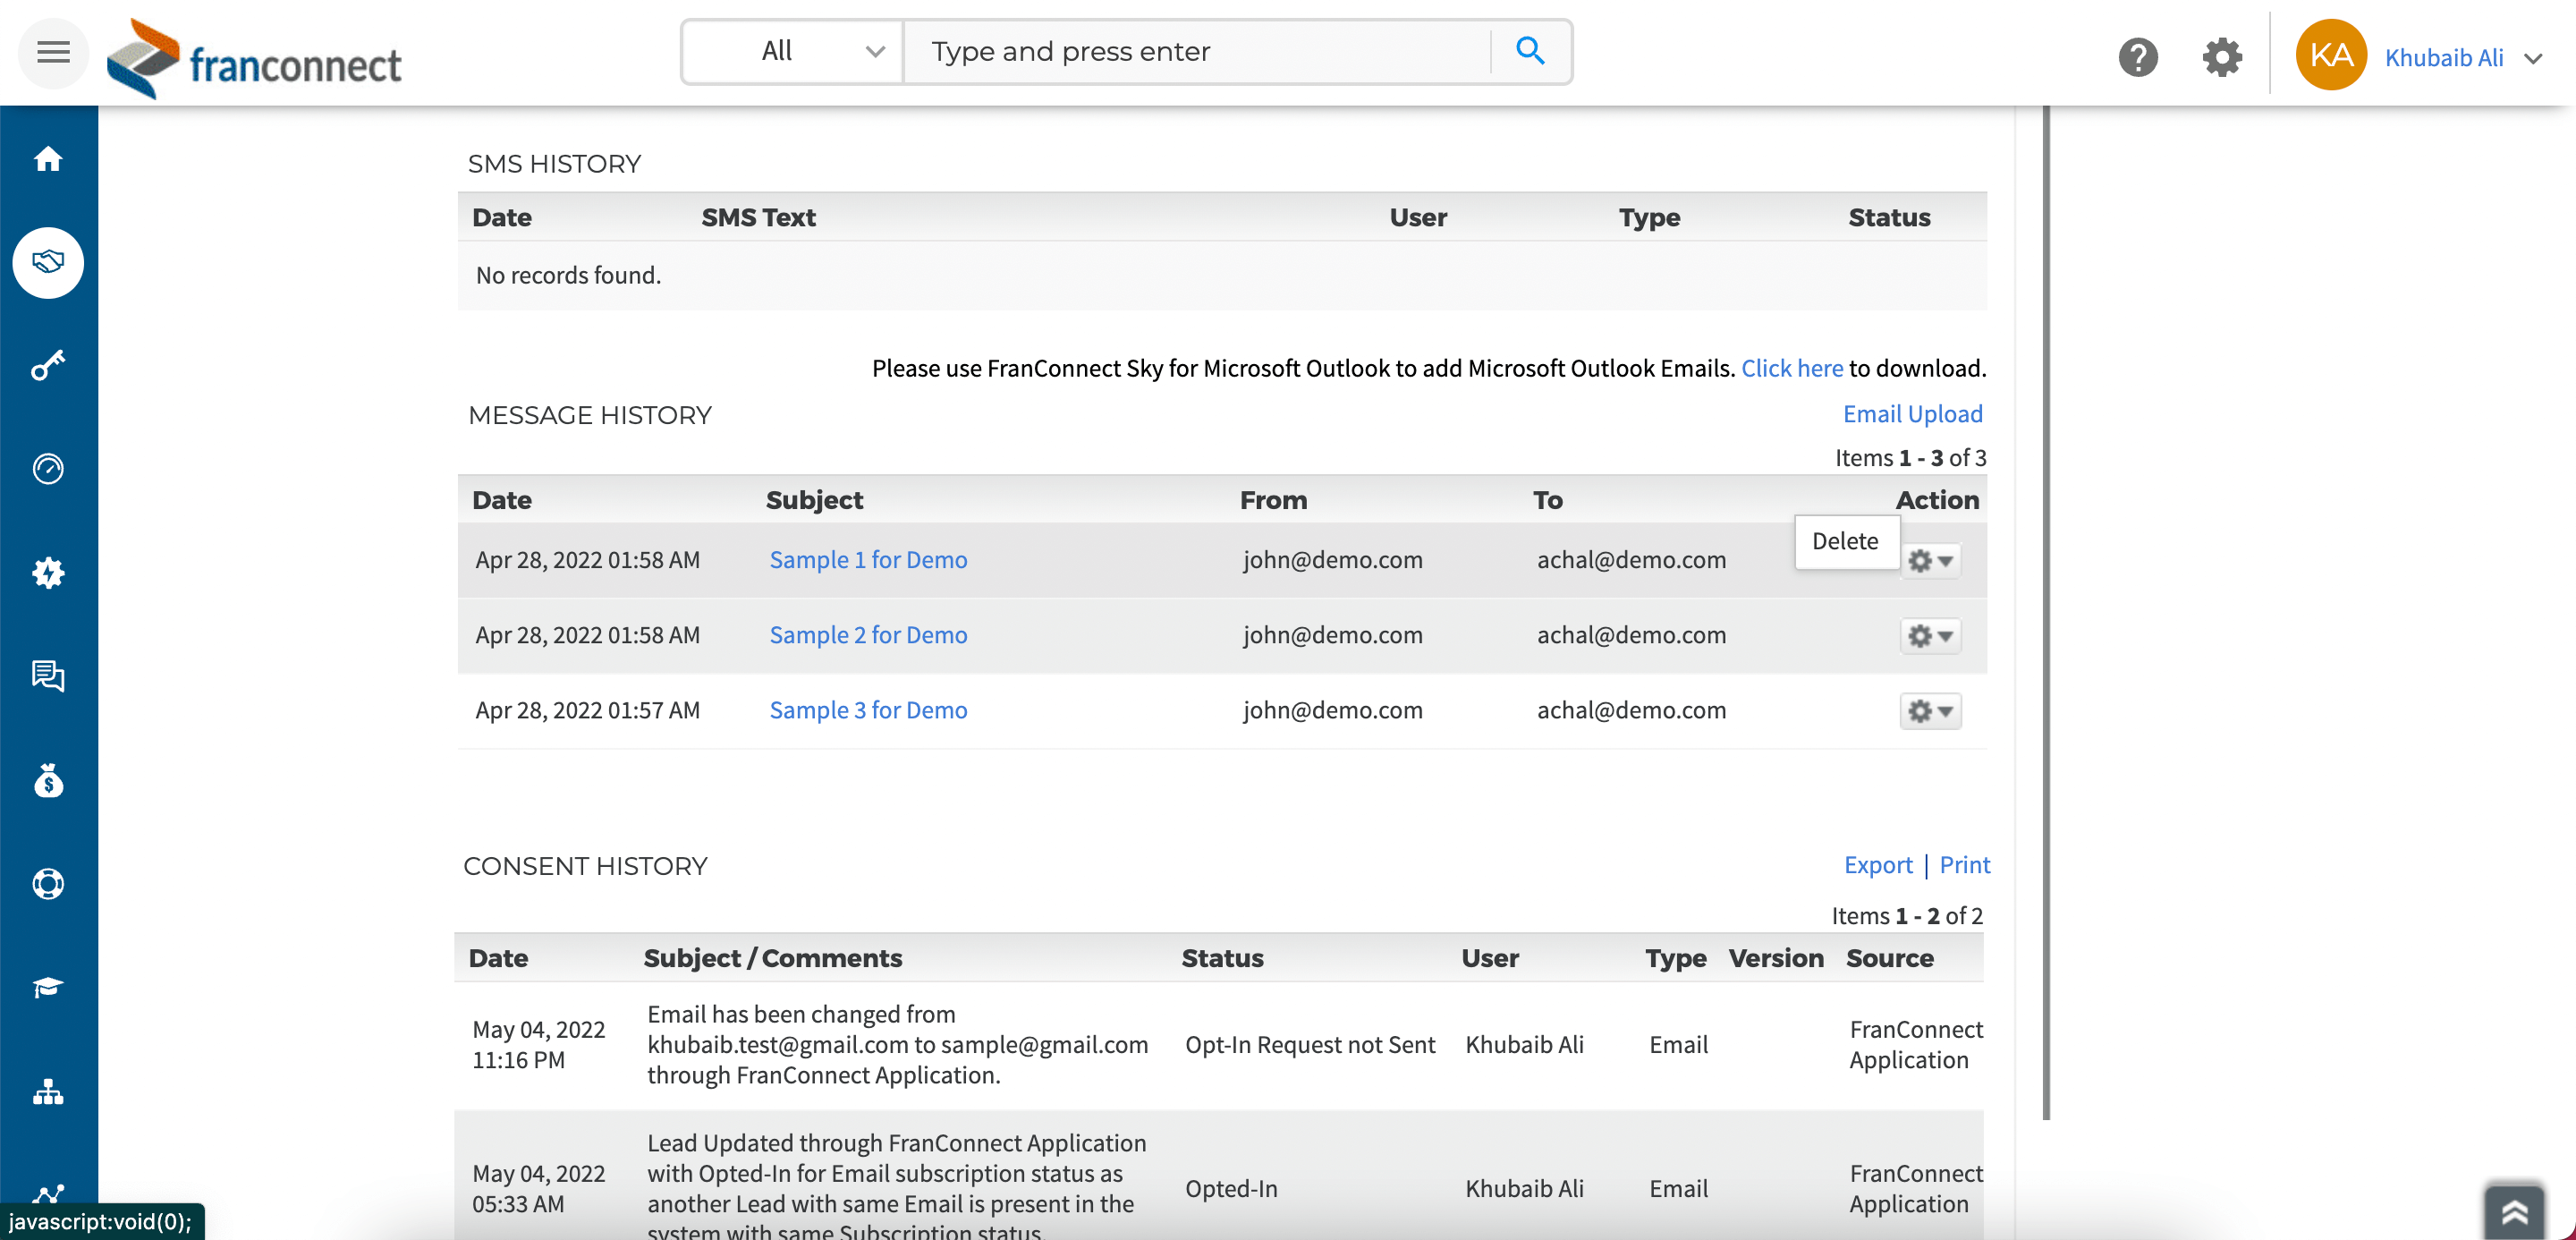
11. You can delete any of the uploaded emails from the Message History by selecting the Delete option from the Action gear button.
1. Sales > Lead Summary > Primary Info > Message History
2. Sales > Broker Summary > Broker Details > Microsoft Outlook Emails
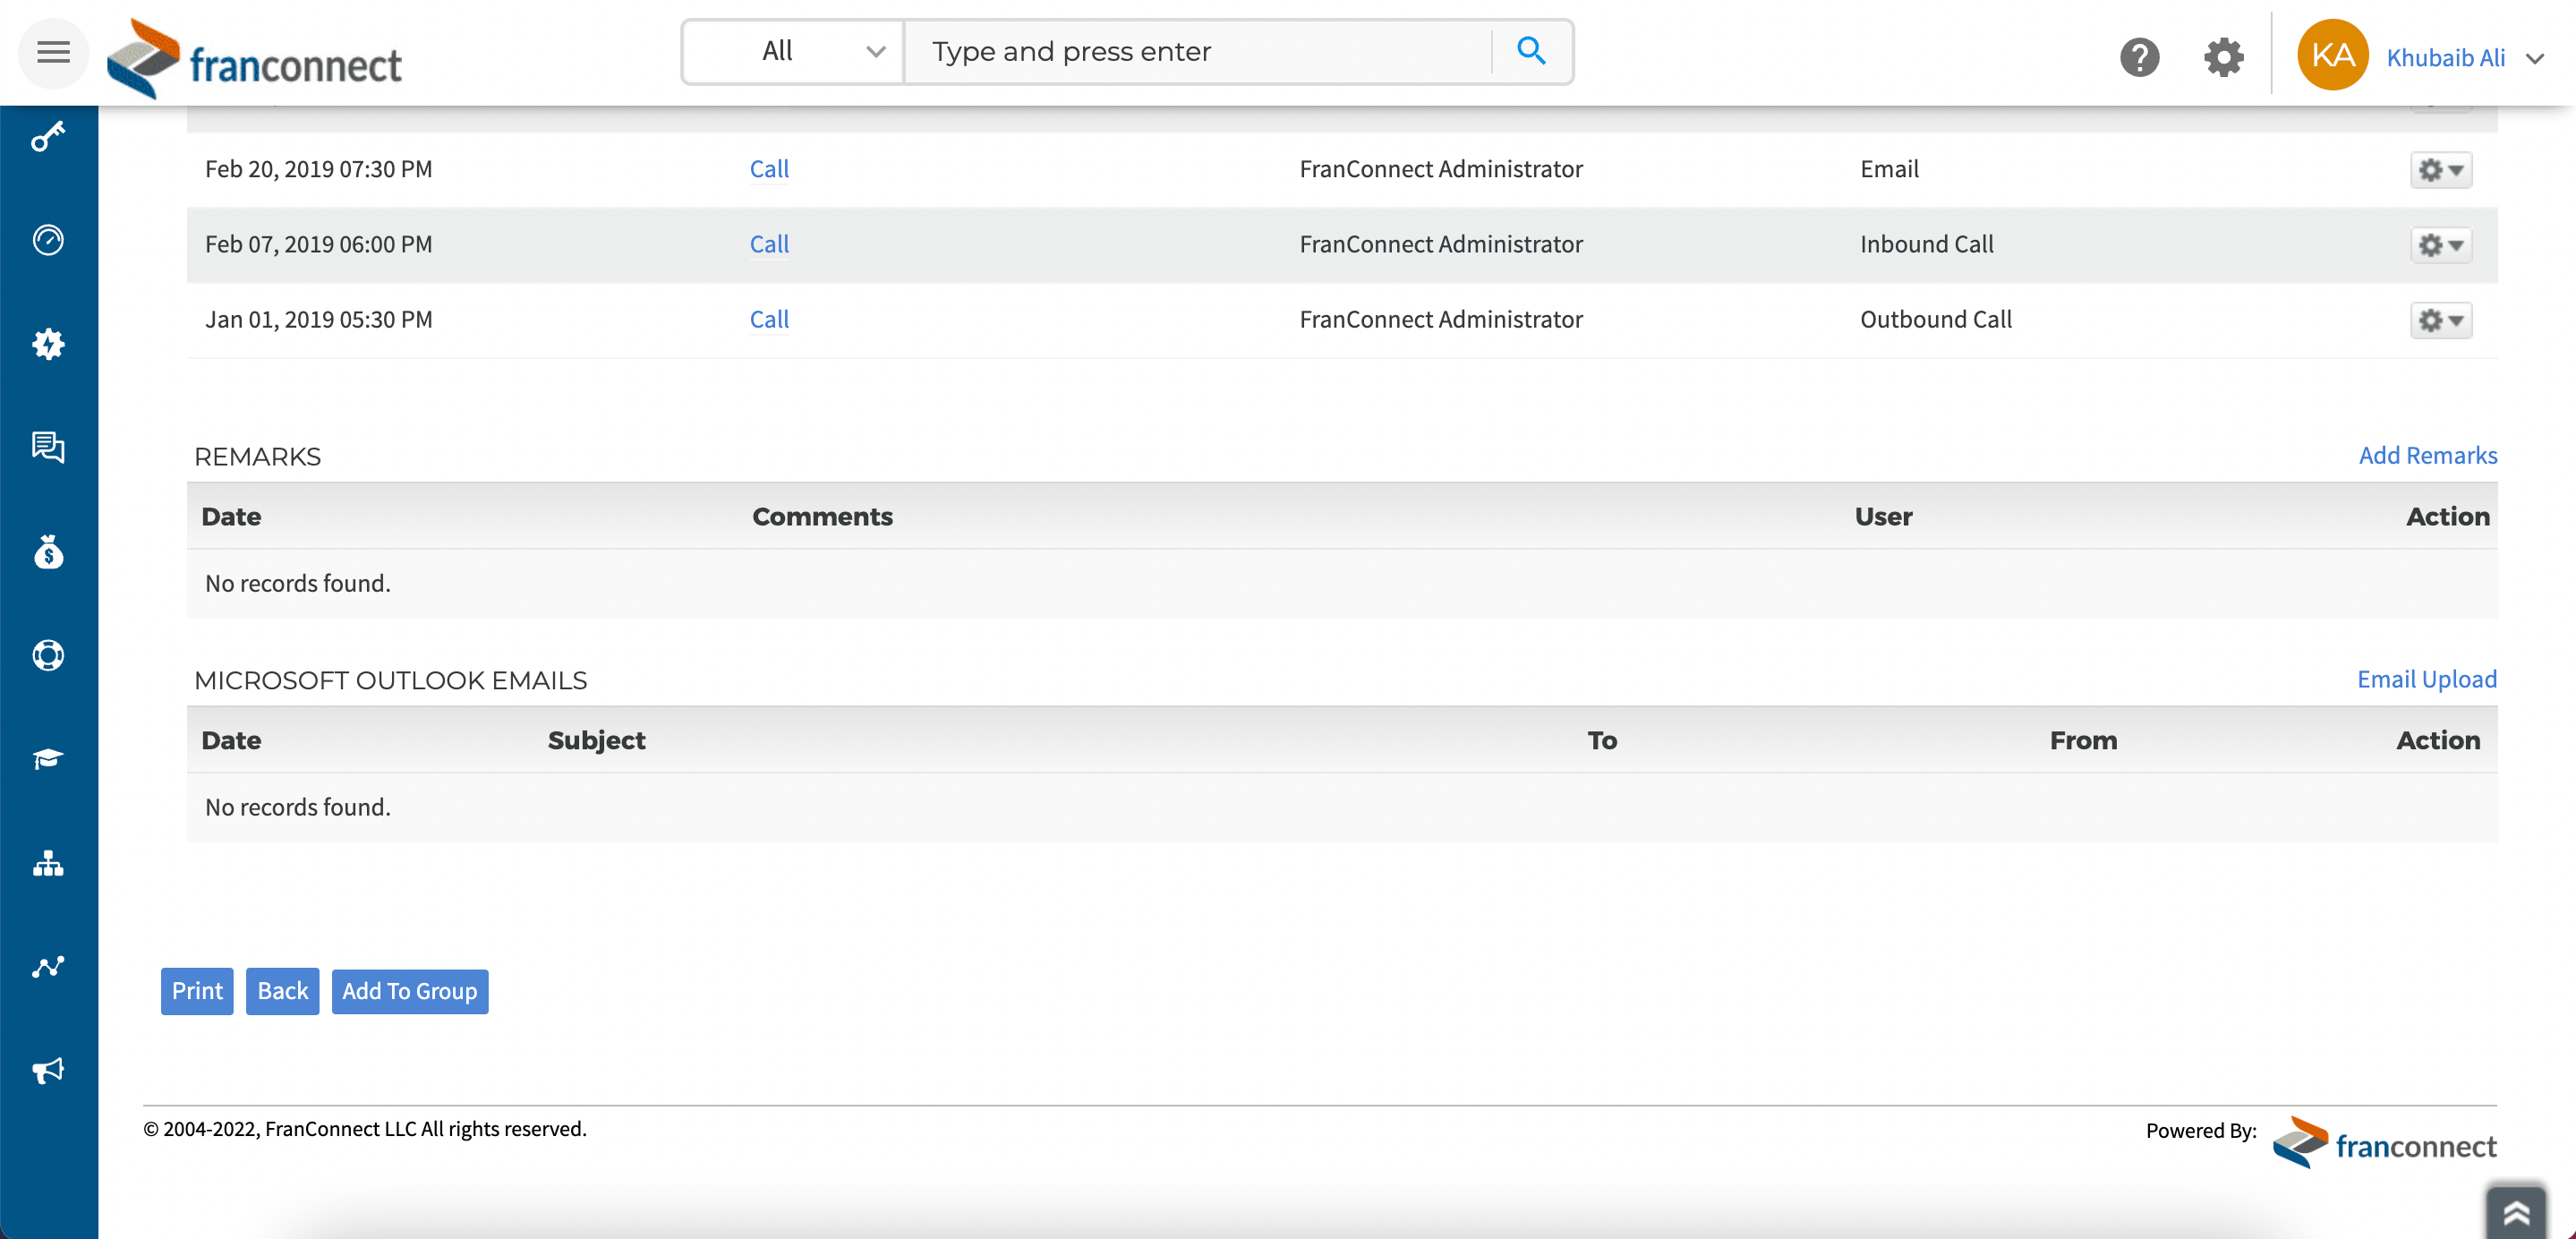
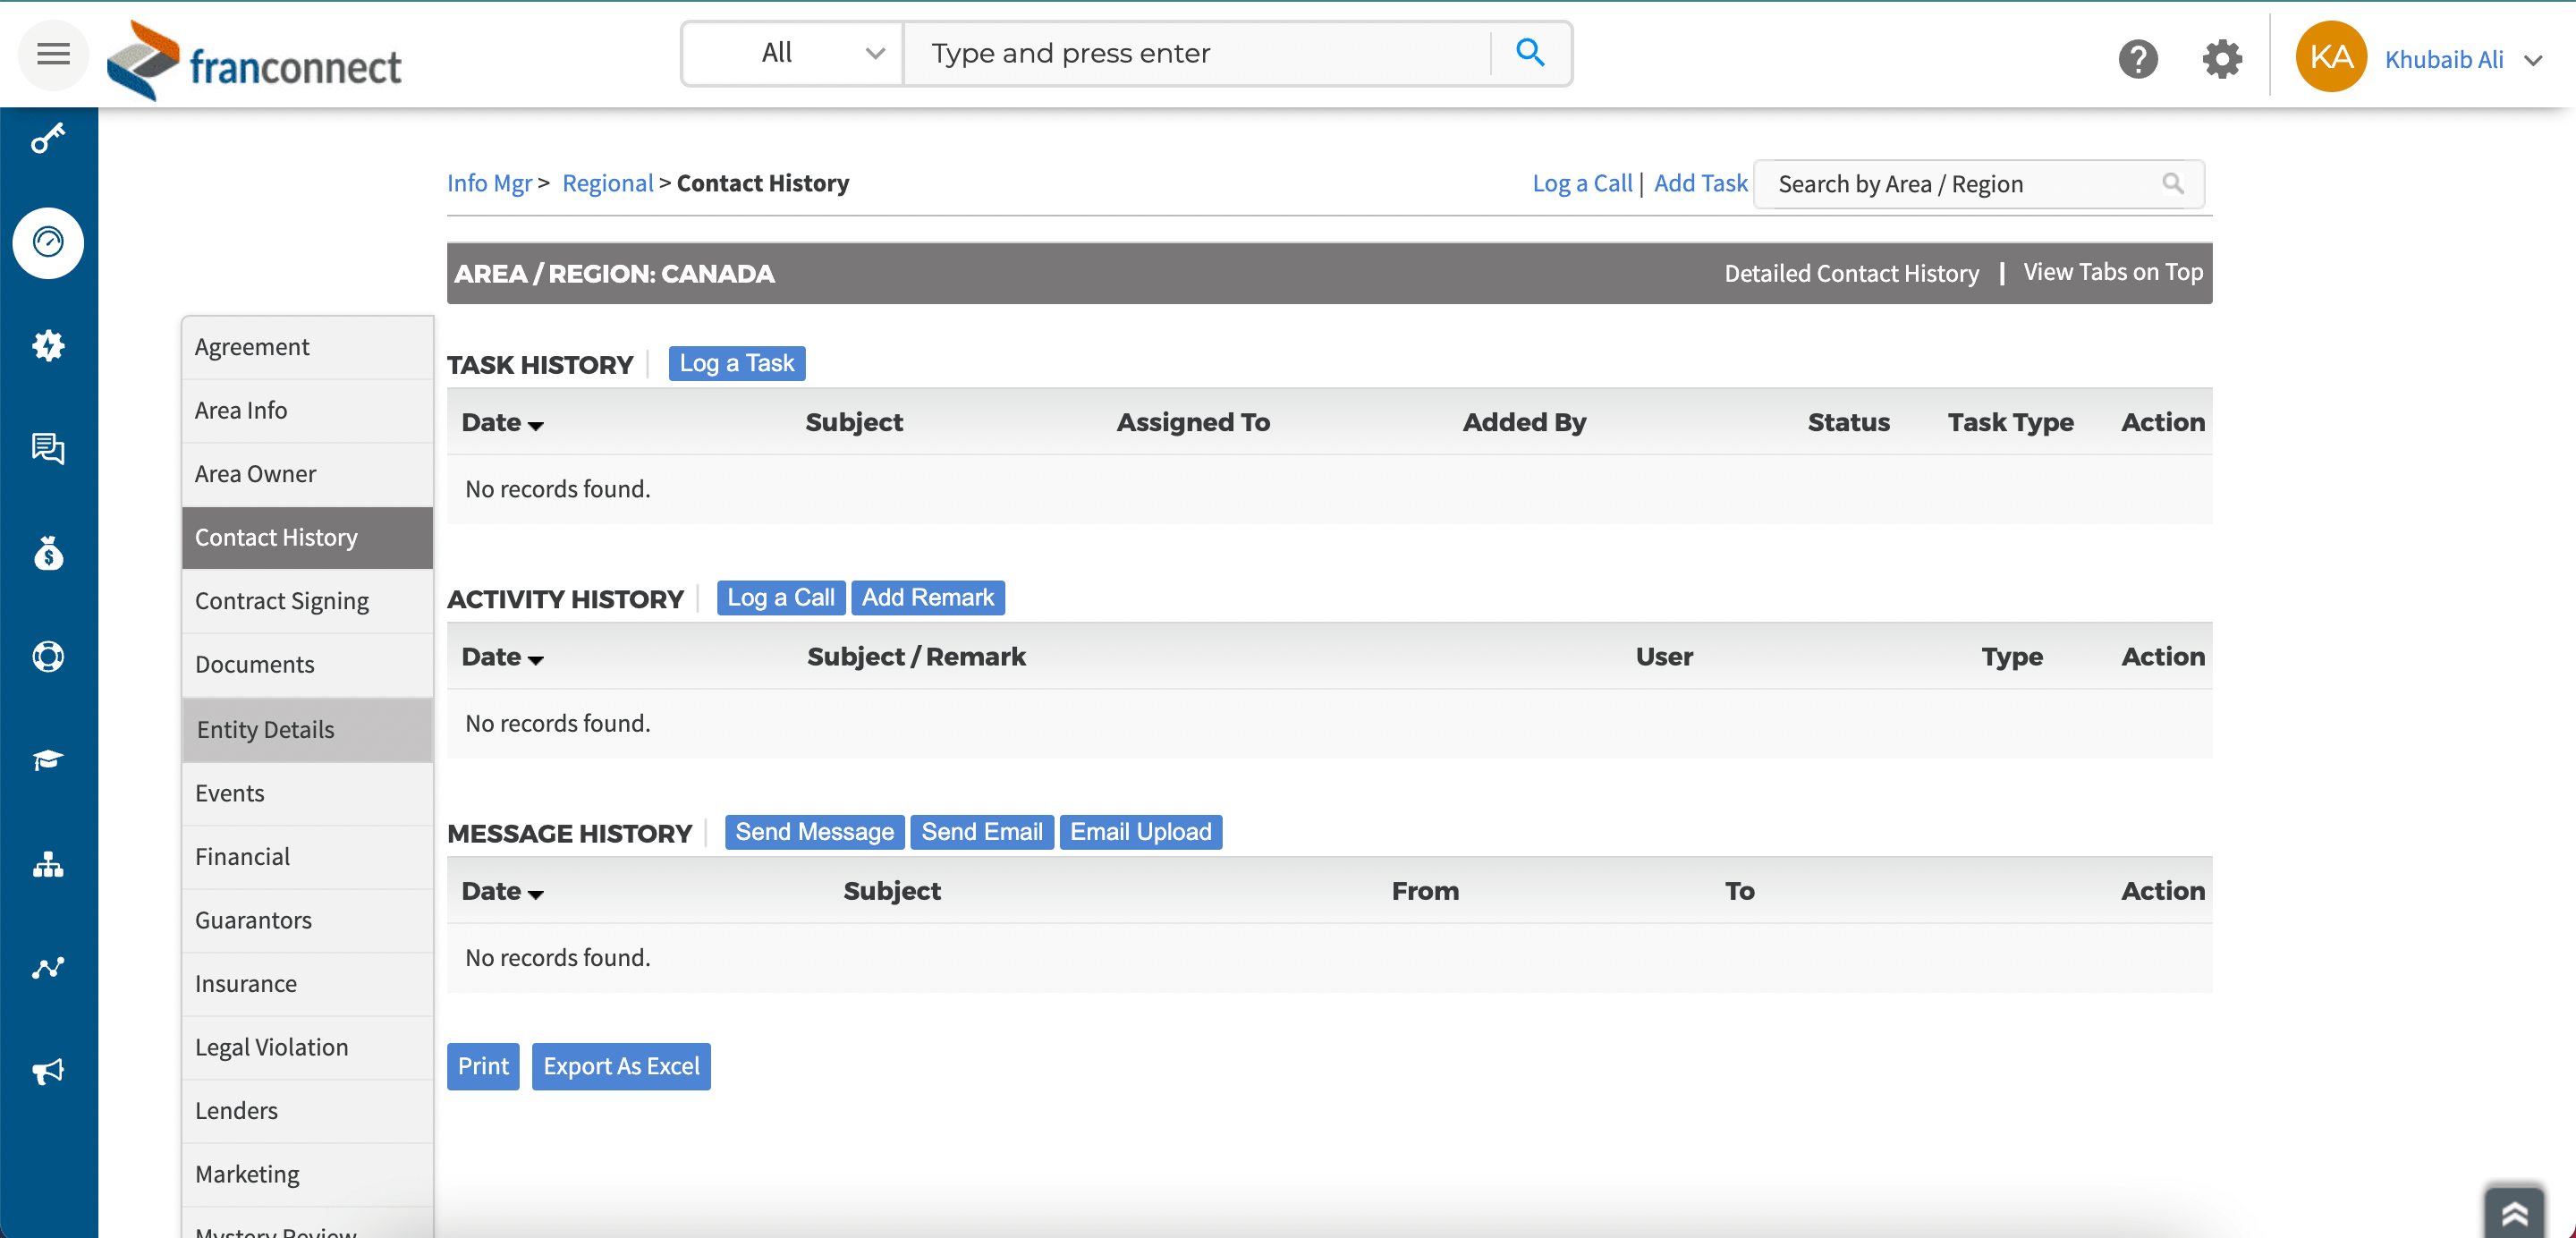
3. Info Mgr > Franchisee(In Development/Franchisee/Terminated/Corporate/Regional/Entity) > Contact History > Message History
4. Info Mgr > Unit Summary > Select any Franchisee(In Development/Active/Terminated/Archived) > Contact History > Message History
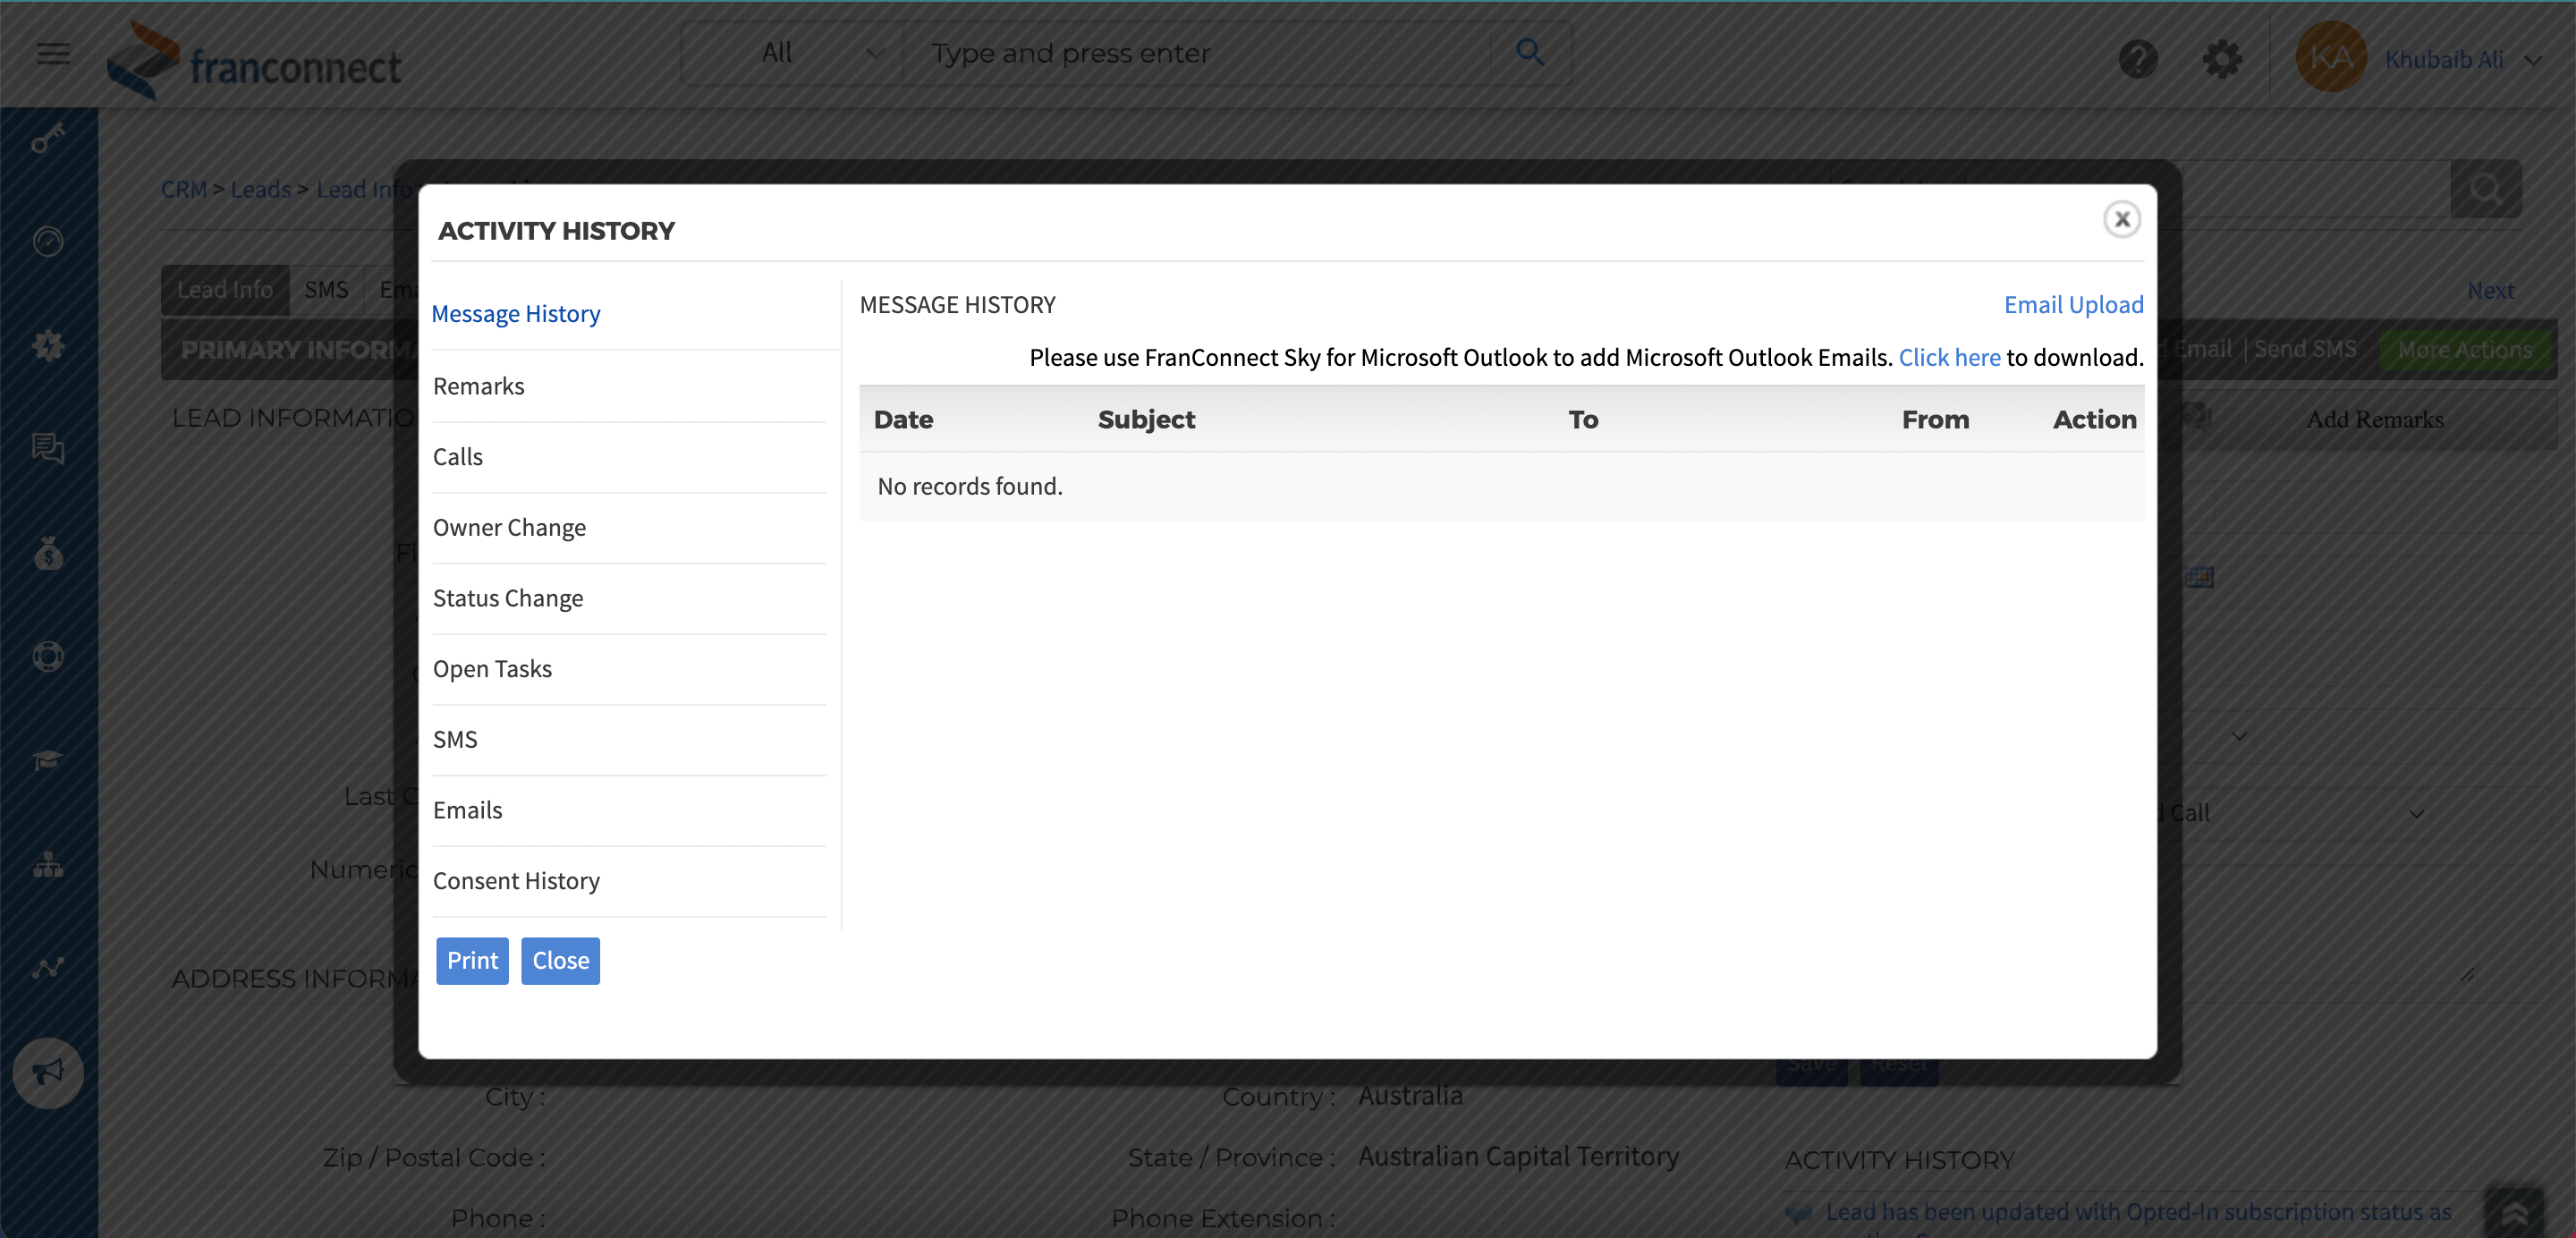
5. CRM > Leads > Lead Info > Detailed History > Message History
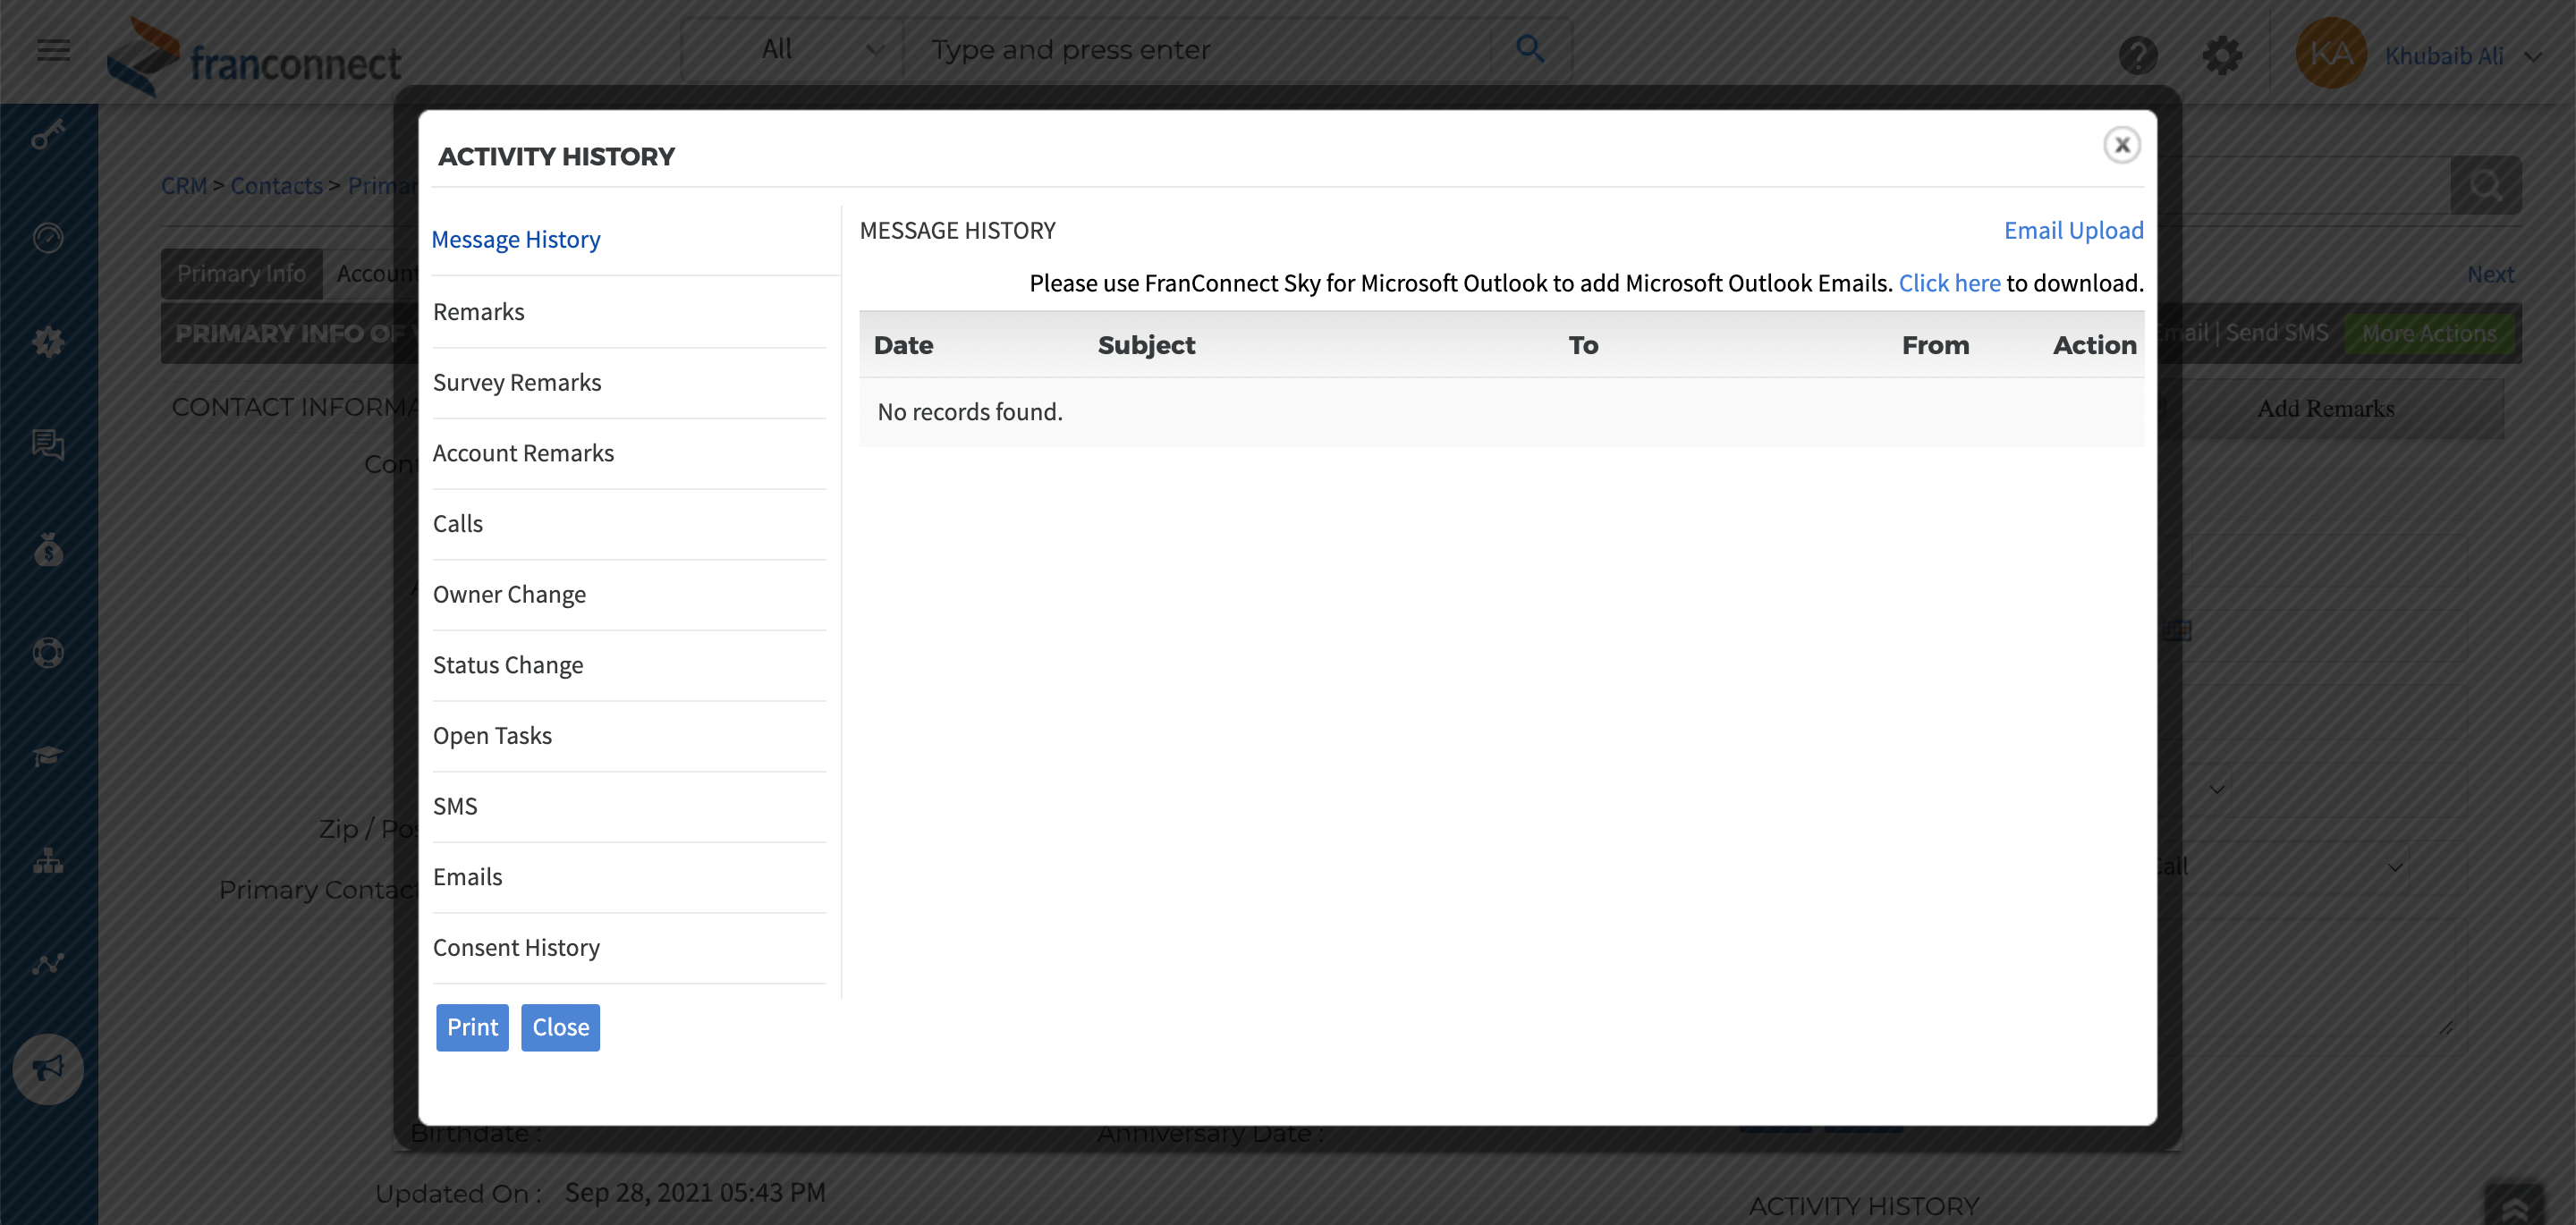
6. CRM > Contacts > Primary Info > Detailed History > Message History
7. Opener > Unit Summary > Select any Franchisee(In Development/Active/Terminated/Archived) > Contact History > Message History